DbSchema Tutorial
With DbSchema freshly installed, the quickest way to see what it does is to point it at a database you know. This tutorial goes once through the main features on one database: connect, read the diagram, add a column, run a query, generate documentation and save the model. Each step links to the page that covers it in full.
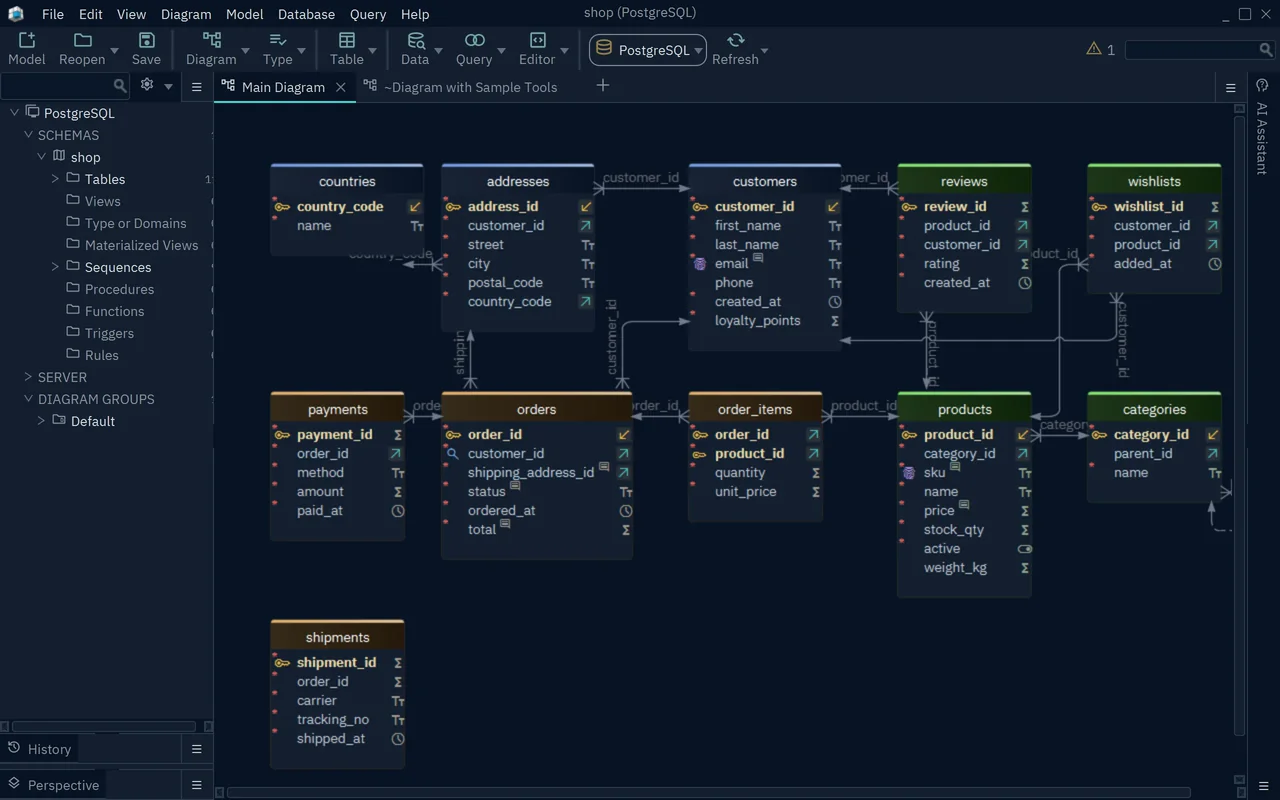
The pictures use a small shop database in PostgreSQL 17: customers, orders, products and the tables around them. Connecting, the diagram, editing tables and the SQL Editor work in the free Community edition. Generating documentation and saving the model need DbSchema Pro, which the trial includes, as Choose an edition and a license explains.
Connect to a database
DbSchema reads the tables of your database into a model, which holds the schema and its diagrams.
- Start DbSchema. The Welcome Screen opens.
- On the Start New tab, keep Connect to Database selected.
- Click your database, such as PostgreSQL.
- Under PostgreSQL Connections, keep New Connection selected and press Connect to PostgreSQL. The button names the database you chose.
- In the connection dialog, choose Standard as the Method, fill in where the database runs, the user, the password and the database, and press Connect.
- In Reverse Engineer the Database, tick the schema, such as
shop, and press Import.
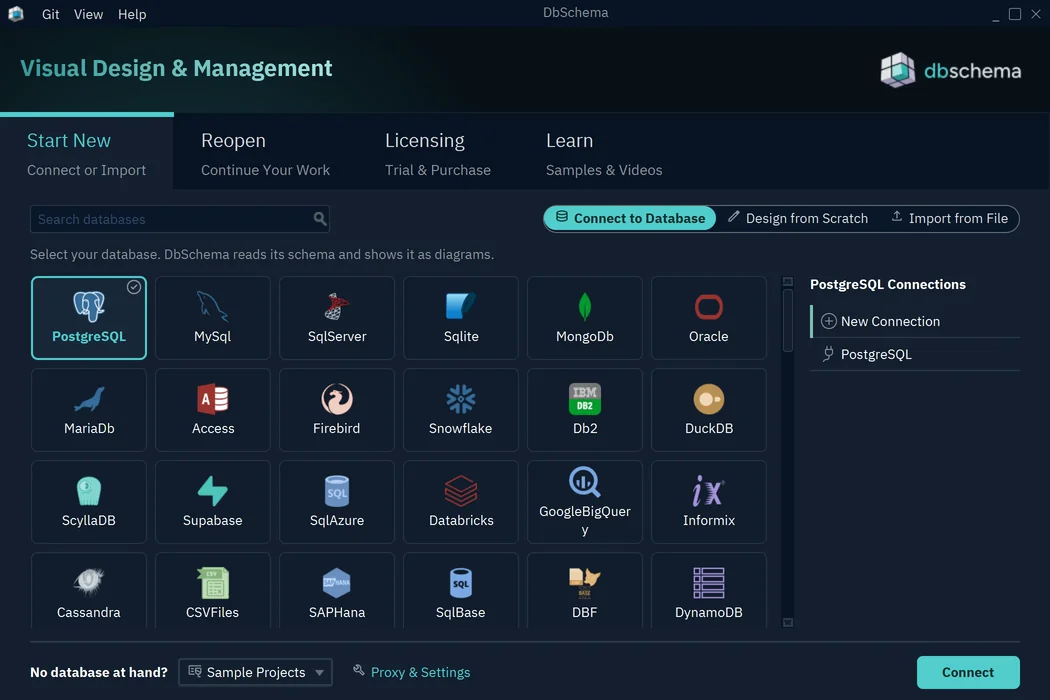
DbSchema downloads the JDBC driver the first time you connect, then draws the imported tables on the Main Diagram. Connecting and importing only read from the database and change nothing in it. Fill in the connection dialog explains every field.
No database at hand? Choose Sample Projects at the top of Start New, click Sqlite and press Open Sample. The sample comes with a small SQLite database, so you can follow the steps below on its tables. Sample Projects describes the samples.
Read the diagram
Each box on the diagram is a table with its columns, and each line between two tables is a foreign key: a column that points to a row in another table.
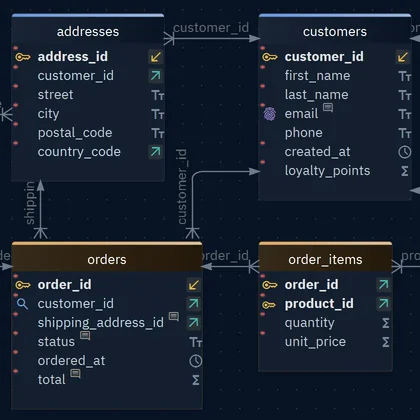
In the picture, orders.customer_id holds the customer_id of the customer who placed the order, so a line runs from orders to customers, with the arrow at customers. The icons in front of the column names mark the keys:
| Icon | Column |
|---|---|
| Key | Belongs to the primary key, which identifies each row |
| Fingerprint | Belongs to a unique key or a unique index, such as email |
| Magnifying glass | Belongs to an index, such as customer_id in orders |
| Red asterisk | Is mandatory: it can't be empty |
| Speech bubble after the name | Has a comment |
Drag a table header to move the table. Moving tables changes only the diagram in the model, never the database. Diagrams shows how to make more diagrams, group tables and arrange them, and Read the cardinality of a line explains the marks at the ends of a line.
Add a column to a table
Double-click a table header to open the Edit Table dialog, where you change the table without writing SQL.
- Double-click the
productsheader. - In the Columns tab, press Add. The New Column dialog opens.
- Type
colorin Name. - Choose
varcharas the data type, and type30in Length. - Type a comment, such as "Shown on the product page".
- Press OK in the column dialog, then OK in the Edit Table dialog.
You're connected, so DbSchema changes the model and the database together. OK in the column dialog runs the change in the database at once, before you close the Edit Table dialog. For the clip, DbSchema ran:
ALTER TABLE shop.products ADD color varchar(30);
COMMENT ON COLUMN shop.products.color IS 'Shown on the product page';
The History pane at the bottom left lists the statements that ran. If you work offline, the change stays in the model until you synchronize it, as Check the SQL before it runs explains. Add a column lists every field of the column dialog.
Run a query
The SQL Editor runs SQL in the connected database and shows the rows in a grid under the query.
- Press Editor in the toolbar and choose SQL Editor, or press Ctrl+E.
- Double-click the SQL_Editor tab, so that the editor takes the whole diagram area.
- Type a query, such as:
SELECT status, count(*) AS orders, sum(total) AS revenue FROM shop.orders GROUP BY status ORDER BY revenue DESC; - Press Run.
The grid lists one row per order status:
| status | orders | revenue |
|---|---|---|
| DELIVERED | 748 | 3424067.35 |
| SHIPPED | 247 | 1183367.74 |
| PAID | 247 | 1078259.48 |
| CANCELLED | 130 | 641531.59 |
| NEW | 128 | 584559.90 |
A SELECT only reads, so neither the database nor the model changes. Double-click the tab again to bring the diagram back. Write and run a query covers auto-complete and the keys of the SQL Editor.
Generate documentation
The HTML5 documentation is one HTML file with the diagram and a description of every table and column, for people who never open DbSchema. Generating it needs DbSchema Pro.
- Choose File → Export As... → HTML5/PDF Documentation, or press Ctrl+D.
- Keep HTML5 selected, and Diagram Vector Image and Image Mouse-Over Tooltips ticked.
- Under File Path, press ... and choose where to save the file.
- Press Generate.
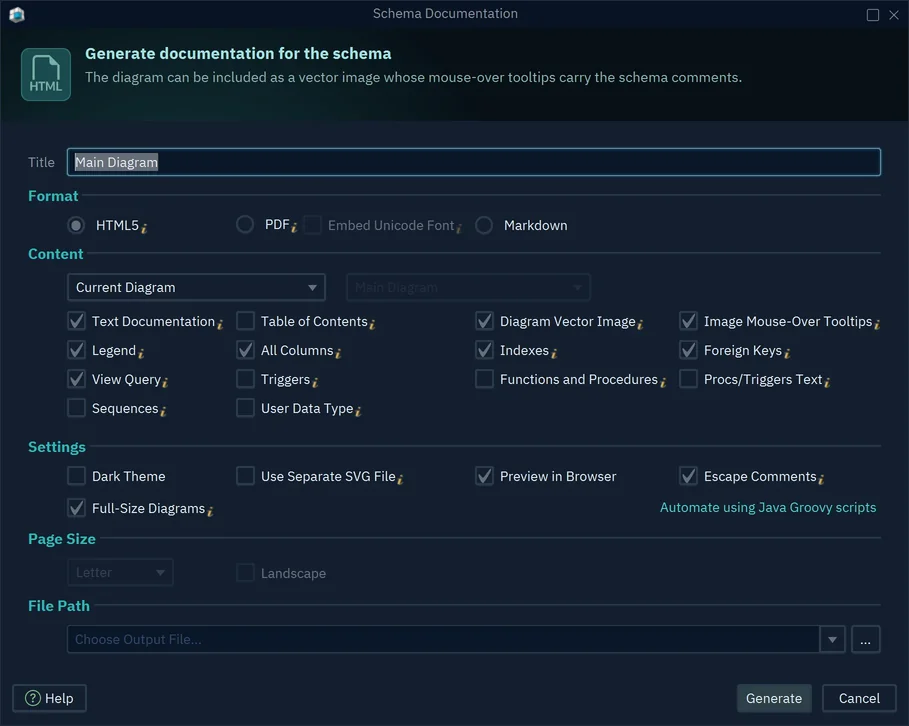
With Preview in Browser ticked, DbSchema opens the file in your browser. On its diagram, pointing at a column shows the column's type and comment, such as "Current list price, in EUR" for products.price. Generating reads the model and changes neither the model nor the database. Generate the documentation covers PDF, Markdown and the content options.
Save the model
The model keeps your diagrams and where each table sits on them, and DbSchema opens it again without a database connection. DbSchema saves it as a .dbs file, and saving needs DbSchema Pro.
- Press Save in the toolbar, or choose File → Save Model to File (Ctrl+S).
- The first time, choose a folder and a name for the
.dbsfile.

Saving writes only the file, and the database stays as it is. To open the model later, choose it on the Reopen tab of the Welcome Screen, or choose File → Open Model from File (.dbs), Ctrl+O. Opening a model file needs DbSchema Pro too.