Logical Design
A logical design describes your data without the details of one database. You decide what the data is and how it connects. The data types and the SQL come later. When the design is ready, DbSchema generates the physical model for the database you choose.
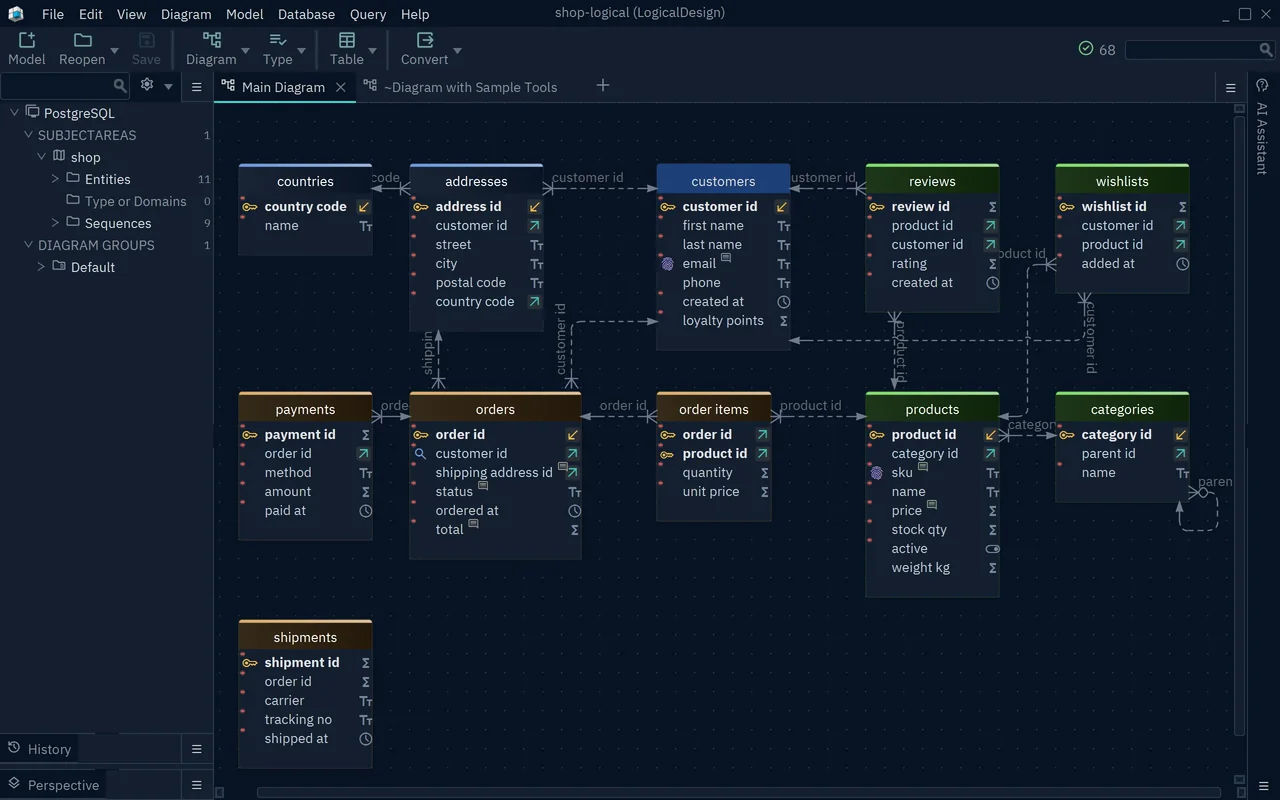
Logical design needs DbSchema Architect.
A logical design uses its own words for the parts of a schema:
| Physical model | Logical design | What it is |
|---|---|---|
| Schema | Subject Area | A group of entities |
| Table | Entity | One kind of thing, such as a customer |
| Column | Attribute | One fact about the thing, such as a name |
| Foreign key | Relation | A link between two entities |
Start a logical model
- Choose File → New Model.
- Choose Design from Scratch.
- Choose Logical Design and press Start Design.
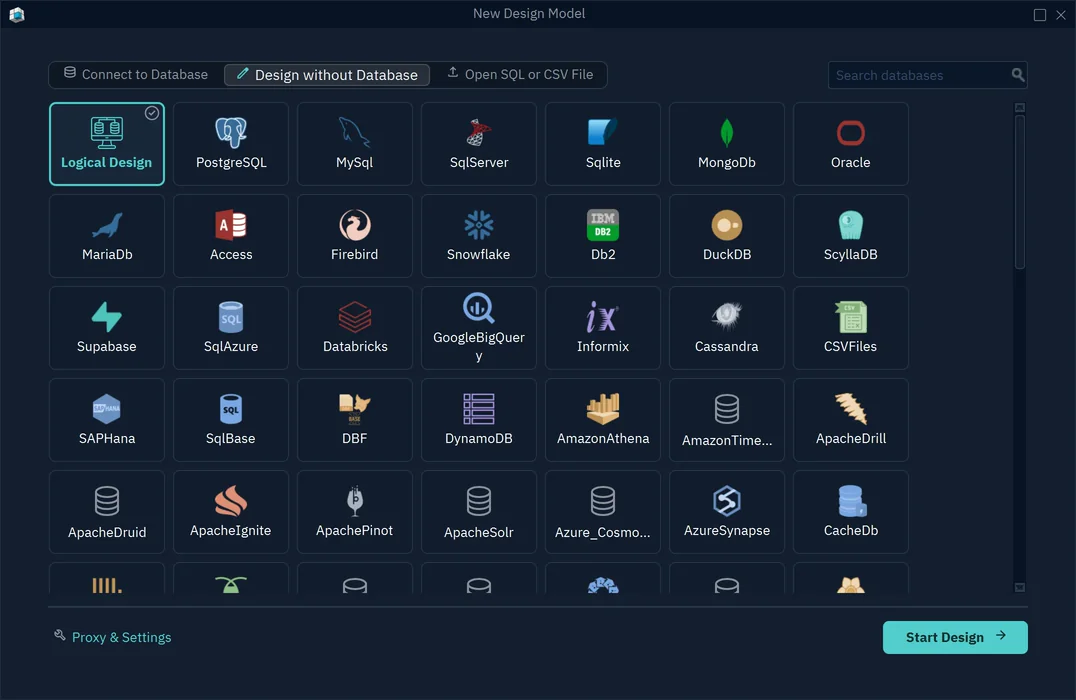
An empty logical model opens. It is not connected to any database.
Turn a physical model into a logical one
You can also start from a database that already exists. The conversion makes a new model, and the original model stays as it is.
- Open the physical model.
- Choose Model → Convert Model.
- Set Target DBMS to LogicalDesign and press OK.
- DbSchema shows the Model Conversion Rules. Press Convert.
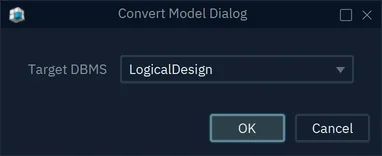
The logical model opens in a new window.
Attribute names are written with spaces instead of underscores, so customer_id becomes customer id.
File → Properties offers the same conversion. Its DBMS button opens the same dialog.
Create an entity
- Click an empty spot on the diagram.
- Choose Table → Create Entity in the toolbar, or press Ctrl+T.
- Type the name of the entity.
- On the Attributes tab, press Add for each attribute. Give it a name and a type, such as
INTorVARCHAR. - Press OK.
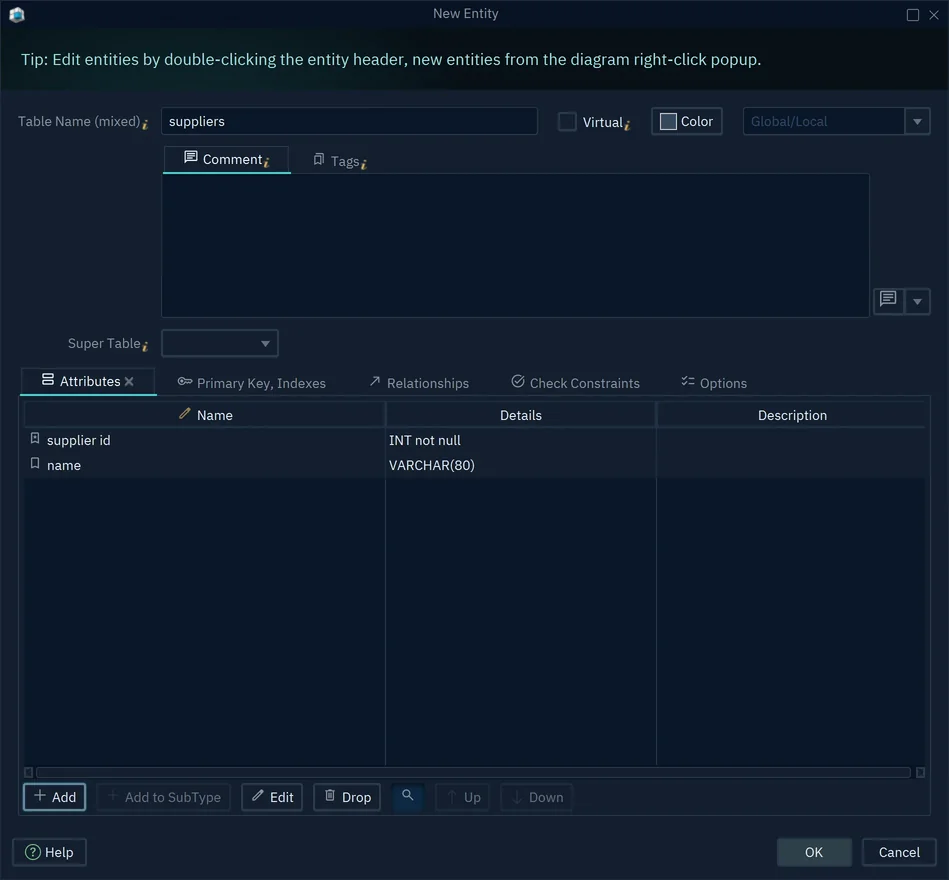
The logical types are few and general: INT, BIGINT, VARCHAR, NUMERIC, DATE, DATETIME and others.
Each one becomes a real data type when you generate the physical model.
Super Table makes the entity a sub-entity of another one. For example, employee and customer can both inherit from person.
Create a relation
A relation links two entities, the way a foreign key links two tables. The child entity refers to the parent entity.
- Drag the attribute of the child entity onto the key attribute of the parent entity. For example, drag
order idofshipmentsontoorder idoforders. - The New Relationship dialog opens. Choose the type of the relation.
- Press OK.
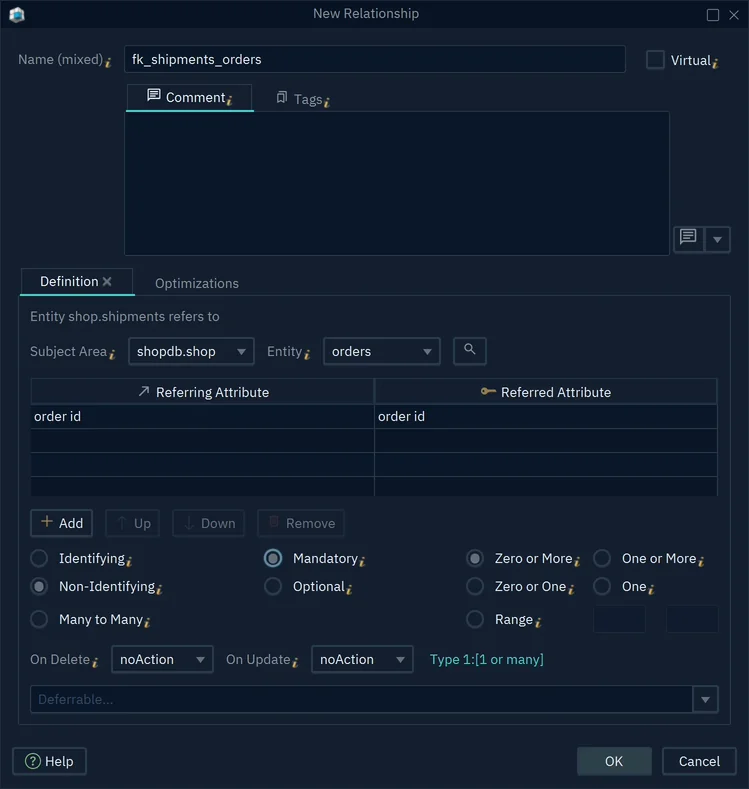
Drag in this direction: from the attribute that refers, onto the attribute that is referred to. You can also choose Table → Create Relation in the toolbar.
The relation has three settings:
- Identifying or Non-Identifying: in an identifying relation, the child's key contains the parent's key. A phone prefix, for example, belongs to its country. In a non-identifying relation, the child has a key of its own.
- Many to Many: each side can have any number of rows on the other side, such as products and categories.
- Mandatory or Optional: a mandatory child always has a parent. An optional child may have none.
- The cardinality: Zero or More, One or More, Zero or One, One, or a Range such as 1 to 5. It says how many children a parent can have.
Set how names and types convert
Two dictionaries decide what the physical model looks like. Both are in the Convert menu of the toolbar and under Model → Dictionaries.
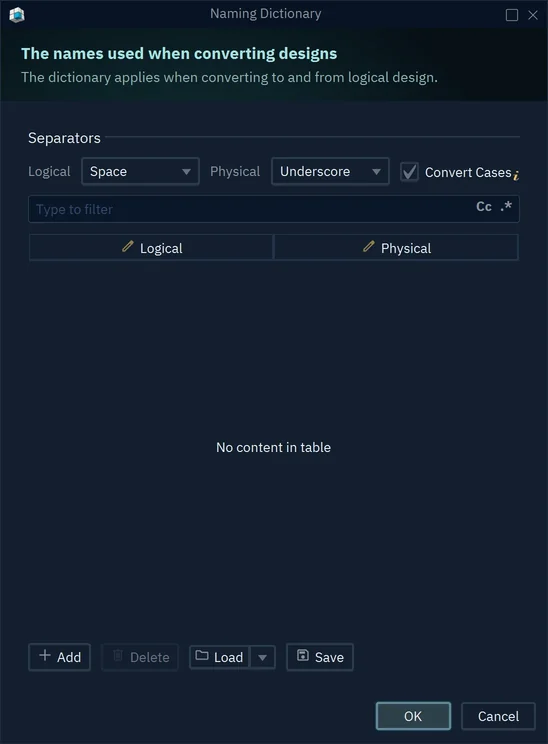
The Naming Dictionary turns logical names into physical names.
- Separators sets the character between words: a Space in the logical design, an Underscore in the physical model.
- Convert Cases writes names in the letter case that the target database prefers.
- The table below holds your own pairs, such as a long word and its short form.
The Conversion Dictionary maps each data type to a data type of the target database. The same Model Conversion Rules dialog opens before every conversion, so you can check the mappings there.
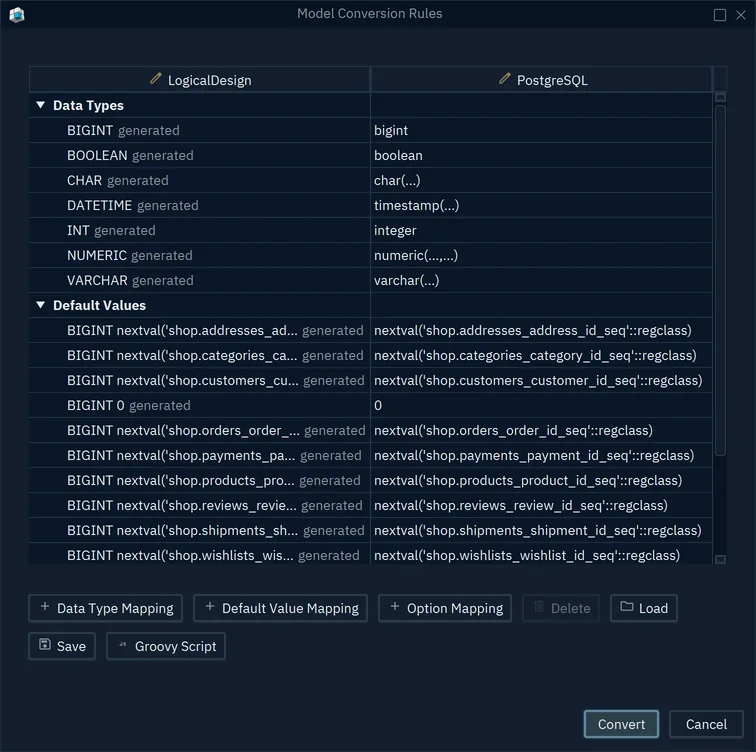
To change a mapping, double-click its right-hand cell.
Generate the physical model
- Choose Model → Generate Physical Model, or Convert → Generate Physical Model in the toolbar.
- Set Target DBMS, such as PostgreSQL.
- Choose the Inheritance Model, which decides how sub-entities become tables:
- SingleTable: the whole hierarchy goes into one table.
- ClassTable: each entity gets its own table.
- ConcreteTable: each sub-entity gets its own table, and the super-entity gets none.
- Press OK, check the Model Conversion Rules, and press Convert.
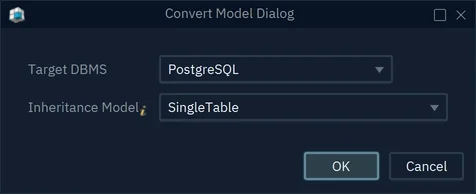
The physical model opens in a new window. The logical design stays as it is. Connect the physical model to a database and create the schema there.
The same steps convert a physical model to another database, for example MySQL to PostgreSQL. Triggers, functions and procedures are written in the language of one database, so check them after a conversion.
Common problems
Which way do I drag to create a relation?
From the child to the parent: drag the attribute that refers onto the key attribute it refers to.
In the example above, order id of shipments goes onto order id of orders.
Convert stops with "Not all LogicalDesign data types are specified"
A data type of your model has no mapping to the target.
In Model Conversion Rules, the row shows ??? on the right.
Double-click that cell, press Edit, choose a type, and press OK. Then press Convert again.
Should I use Model → Convert Model or File → Properties?
Both open the same Convert Model Dialog. Use either one.