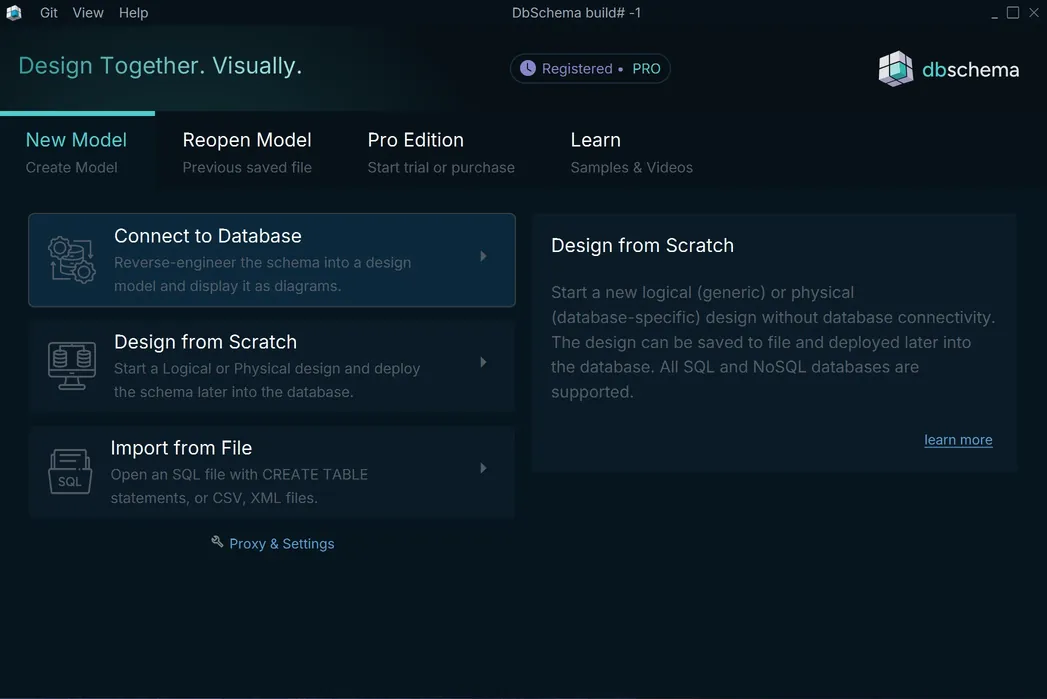
Design and Manage SAP SQL Anywhere Databases Visually with DbSchema
DbSchema lets you design, manage, and document SAP SQL Anywhere databases. Create ER diagrams, define tables and columns, and generate SQL scripts - with or without a live database connection.
Use Git to share the design, compare it with the SAP SQL Anywhere database, and deploy changes. DbSchema also includes a data editor, query builder, and HTML5 documentation - everything you need in one tool.

Download DbSchema Download SAP SQL Anywhere JDBC Driver
Full-Featured Schema Tools for Edge and Embedded SAP Deployments
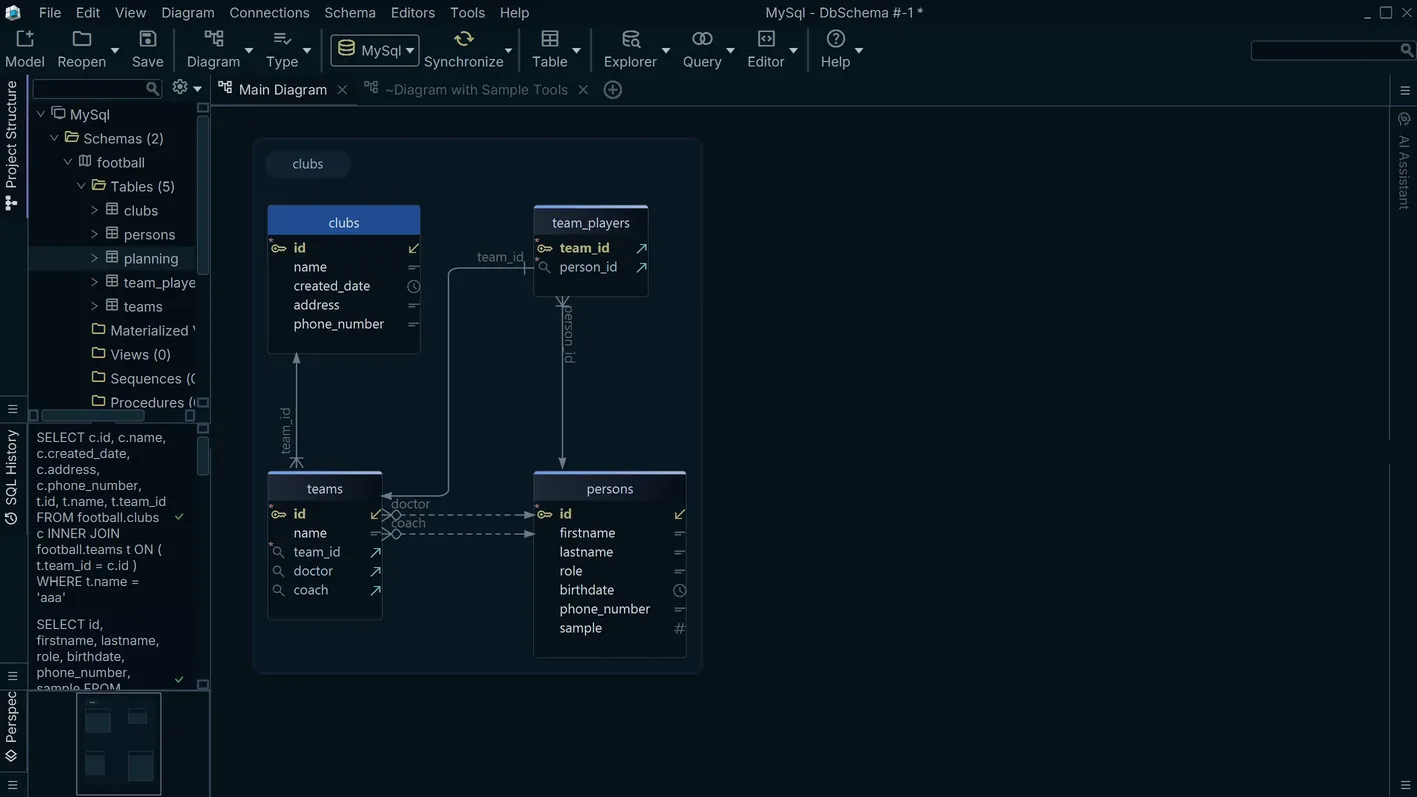
SAP SQL Anywhere is a self-managing relational database designed for edge computing, embedded systems, and mobile deployments where database administration overhead must be minimal. It supports stored procedures, triggers, events, and a replication system for synchronizing remote databases with central SAP environments. DbSchema connects via the SQL Anywhere JDBC driver and exposes the complete schema — including stored procedures and events — in an interactive diagram, helping teams manage SQL Anywhere schema evolution without requiring the SAP Sybase Central GUI.
Connect to SQL Anywhere and Explore the Full Schema
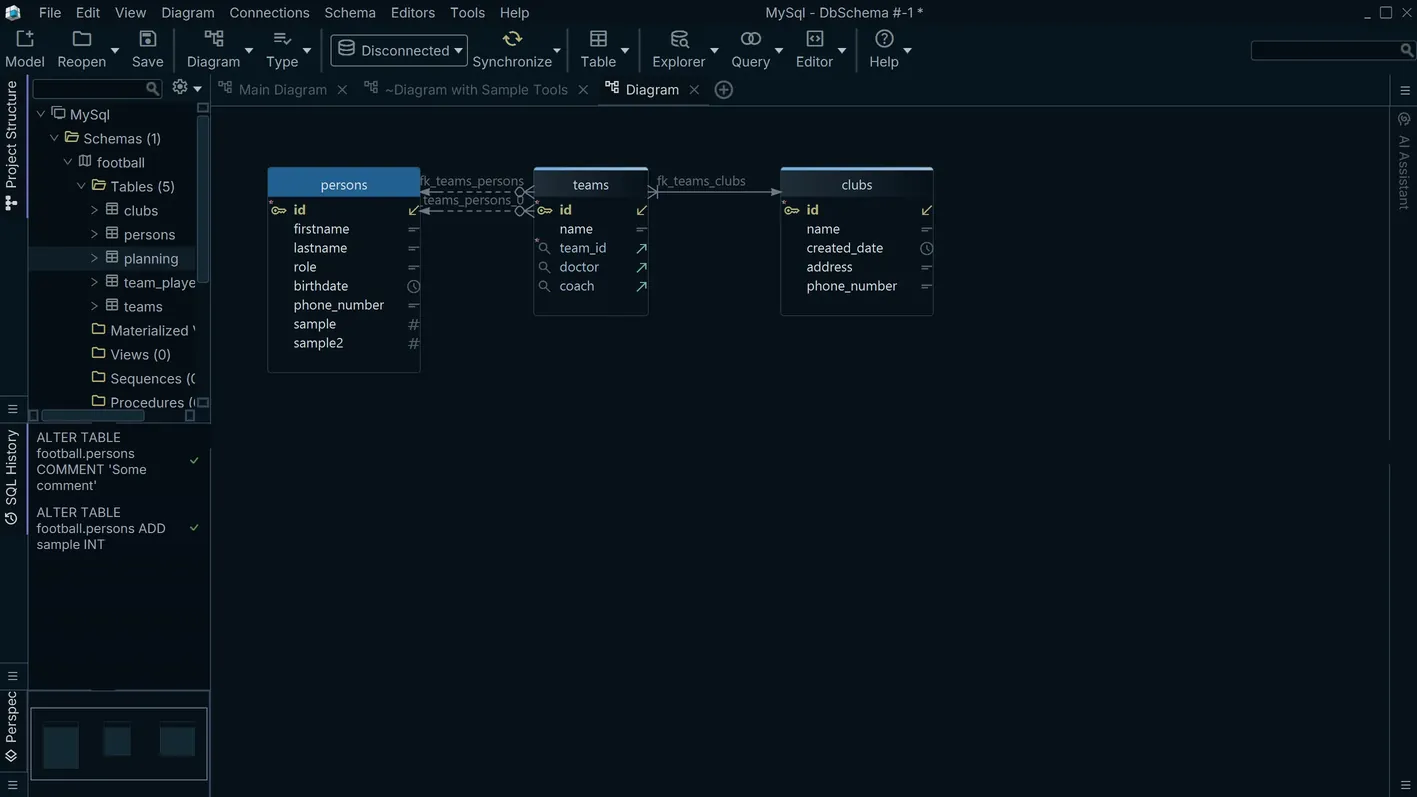
DbSchema reads the SQL Anywhere catalog and renders tables, views, foreign key relationships, and stored procedure definitions in the diagram canvas. The visual overview is particularly useful for SQL Anywhere databases in remote or embedded deployments where the schema is rarely inspected directly.
Write and Execute SQL Queries
The SQL editor supports SQL Anywhere's Transact-SQL-influenced dialect, including procedural extensions and event syntax. Write ad-hoc queries, test stored procedure logic, and inspect result sets directly in DbSchema without requiring Sybase Central or Interactive SQL.
Generate Schema Documentation
DbSchema's documentation generator exports the SQL Anywhere schema as a navigable HTML report including table definitions, column types, index descriptions, and relationship diagrams. For SQL Anywhere deployments at remote sites with minimal IT support, this report serves as an authoritative reference for support and maintenance teams.
Connecting DbSchema to SAP SQL Anywhere
SQL Anywhere listens on port 2638 by default. The JDBC URL format is
jdbc:sqlanywhere:UserID=user;Password=pass;Host=host:2638;DatabaseName=dbname.
Download sajdbc4.jar from the SAP SQL Anywhere download center — ensure the driver
version matches the SQL Anywhere server version in use — and register it in DbSchema's driver
manager. The SQL Anywhere database server must be running and reachable on the specified host and
port before DbSchema attempts to connect.
Why DbSchema for SAP SQL Anywhere
- Visualize SQL Anywhere schemas including stored procedures and events in a single view.
- Run SQL queries from a desktop client without Sybase Central or Interactive SQL.
- Synchronize schema changes between development and production SQL Anywhere instances.
- Generate documentation for remote SQL Anywhere deployments that lack local administrators.
- Track schema evolution with DbSchema's Git integration for version-controlled schema files.