Design and Manage Amazon Redshift Databases Visually with DbSchema
DbSchema lets you design, manage, and document Amazon Redshift databases. Create ER diagrams, define tables and columns, and generate SQL scripts - with or without a live database connection.
Use Git to share the design, compare it with the Amazon Redshift database, and deploy changes. DbSchema also includes a data editor, query builder, and HTML5 documentation - everything you need in one tool.

Download DbSchema Download Amazon Redshift JDBC Driver
Visualizing Redshift Distribution and Sort Key Design
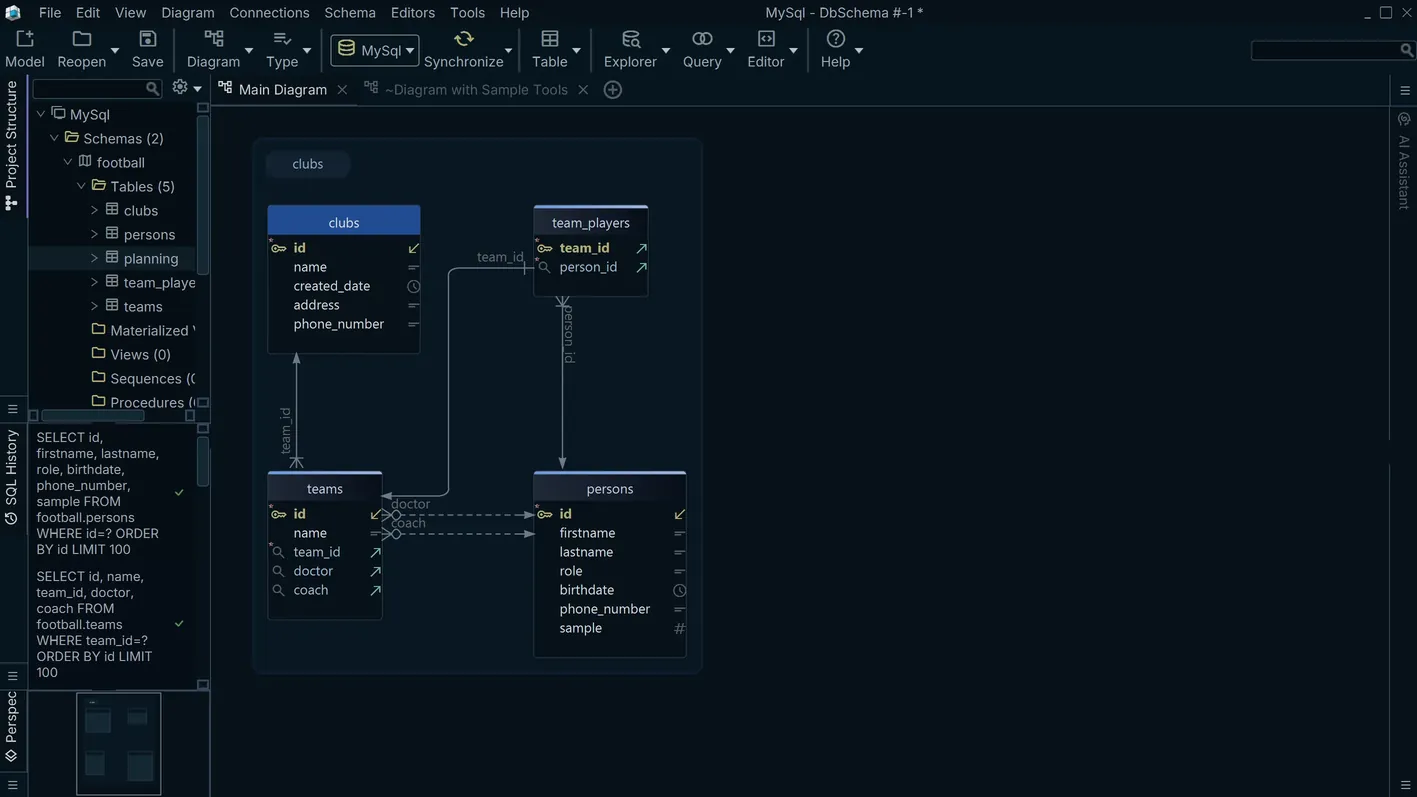
Amazon Redshift's query performance depends heavily on distribution styles (KEY, ALL, EVEN) and sort keys — design decisions that are invisible in standard SQL query tools. DbSchema connects to Redshift and renders your full schema as an ER diagram, exposing table structures and FK relationships in a navigable canvas. Data engineers use this view to validate that the schema layout aligns with expected query join patterns before committing changes to a production cluster.
Query Redshift Data Without Writing SQL
The visual query builder in DbSchema lets you join Redshift tables, add WHERE conditions, and specify aggregations through a point-and-click interface. The resulting SQL runs against your Redshift cluster and displays results inline, without opening the Redshift query editor or writing a line of SQL.
Synchronize Schema Between Redshift Clusters
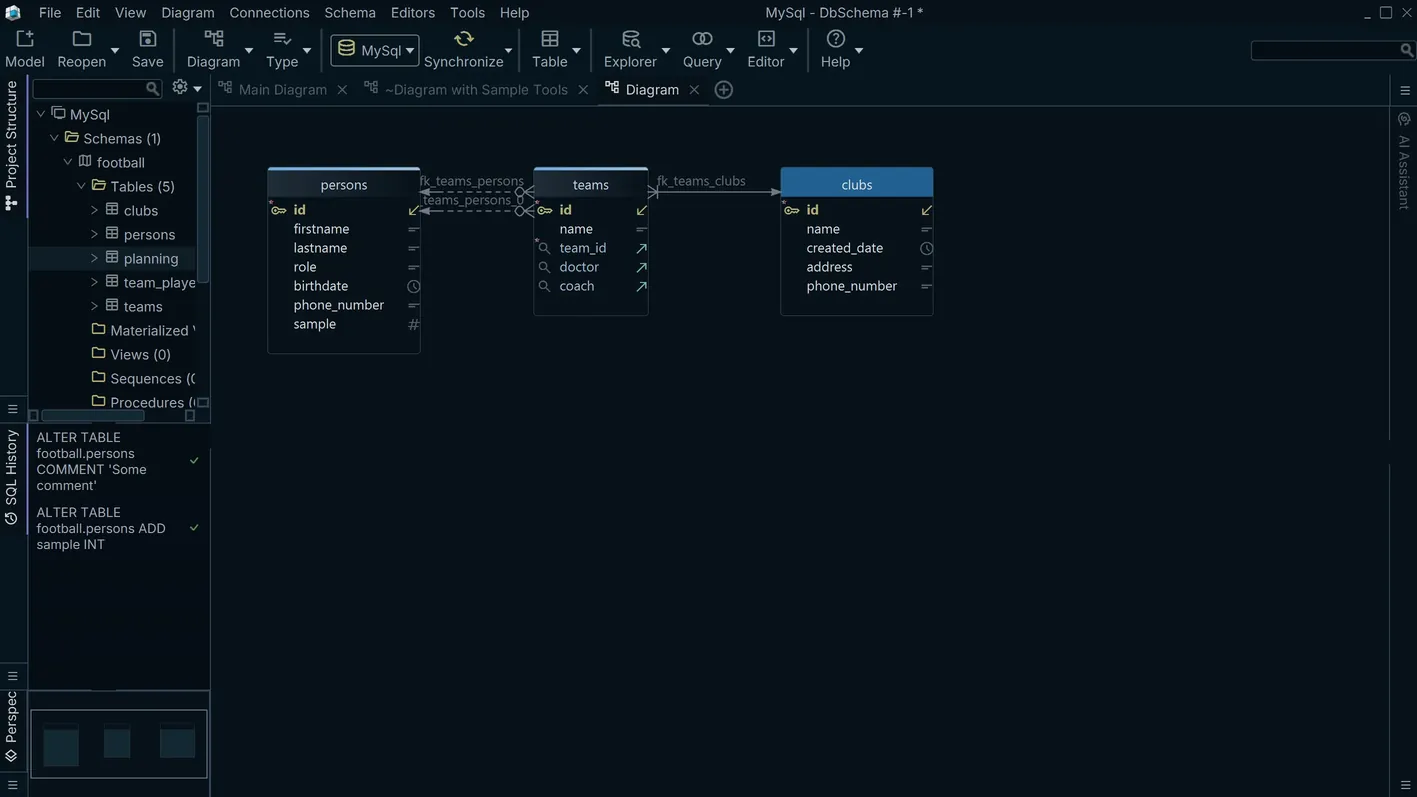
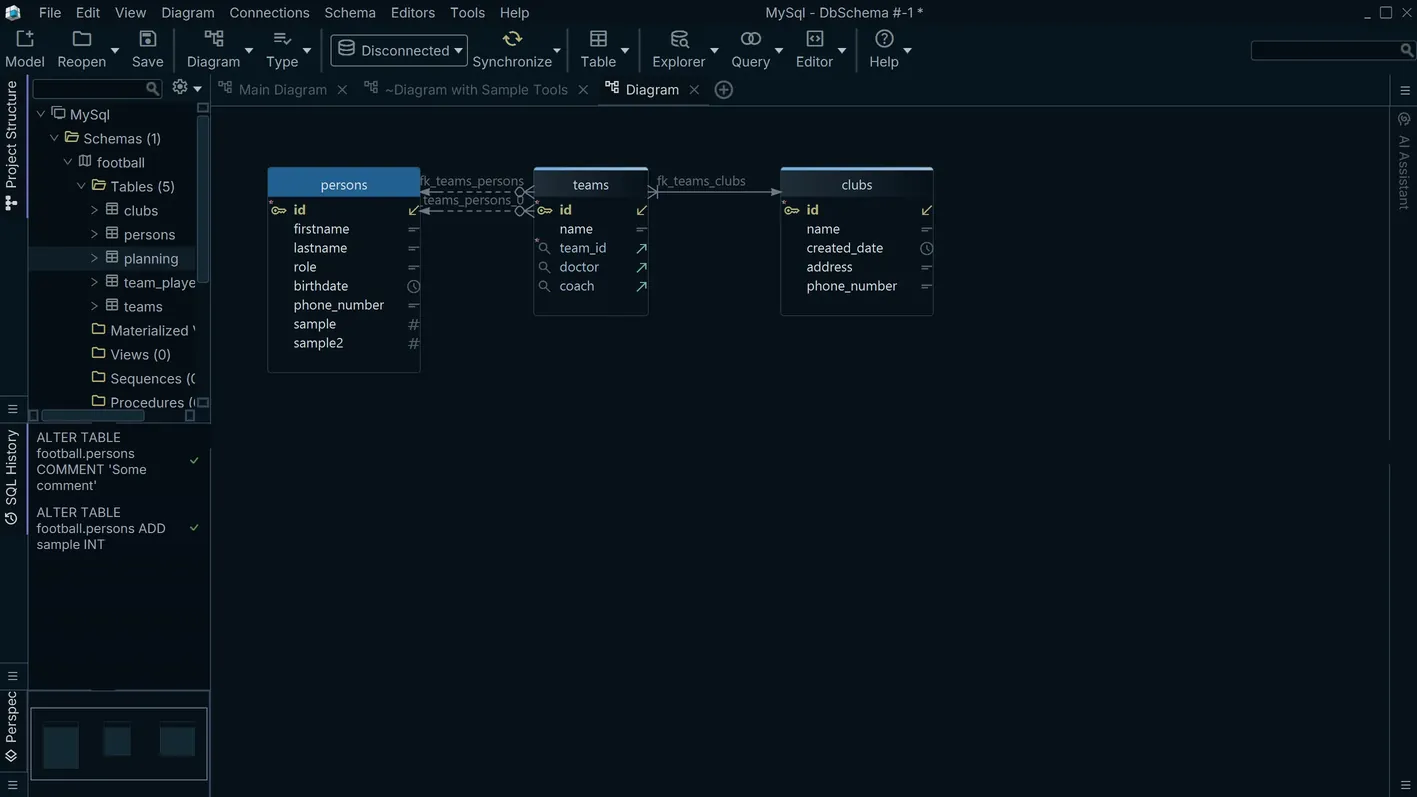
DbSchema's schema synchronization tool compares the DDL state of two Redshift environments — for example, a development cluster and a production cluster — and generates the ALTER and CREATE statements required to bring them in sync. This eliminates manual diffing and reduces deployment errors when promoting schema changes across environments.
Auto-Generate Warehouse Schema Documentation
DbSchema exports your Redshift schema as browsable HTML documentation with embedded ER diagrams and table definitions. Teams use this to maintain an up-to-date reference for data consumers, report developers, and audit requirements without granting direct warehouse access.
Connecting DbSchema to Amazon Redshift
DbSchema downloads the Amazon Redshift JDBC driver automatically — no manual setup required. The JDBC URL follows the format jdbc:redshift://cluster.region.redshift.amazonaws.com:5439/dbname. Your Redshift cluster's VPC security group must allow inbound TCP traffic on port 5439 from the machine running DbSchema. For Redshift Serverless deployments, replace the cluster endpoint with the workgroup endpoint URL; the JDBC URL structure and port remain identical. IAM authentication is also supported by configuring the IAMAuth JDBC property.
Why Teams Use DbSchema with Amazon Redshift
- Visualize distribution styles and sort keys alongside FK relationships in one diagram
- Compare schemas between dev and production clusters and generate sync scripts automatically
- Run ad-hoc queries on warehouse data without opening the Redshift query editor
- Document the warehouse schema for data consumers and governance reviews
- Design schema changes locally and apply them through the synchronization workflow