Design and Manage Oracle Databases Visually with DbSchema
DbSchema lets you design, manage, and document Oracle databases. Create ER diagrams, define tables and columns, and generate SQL scripts - with or without a live database connection.
Use Git to share the design, compare it with the Oracle database, and deploy changes. DbSchema also includes a data editor, query builder, and HTML5 documentation - everything you need in one tool.

How to Connect to Oracle Database
Watch the step-by-step video tutorial below:
For written documentation, please continue reading...
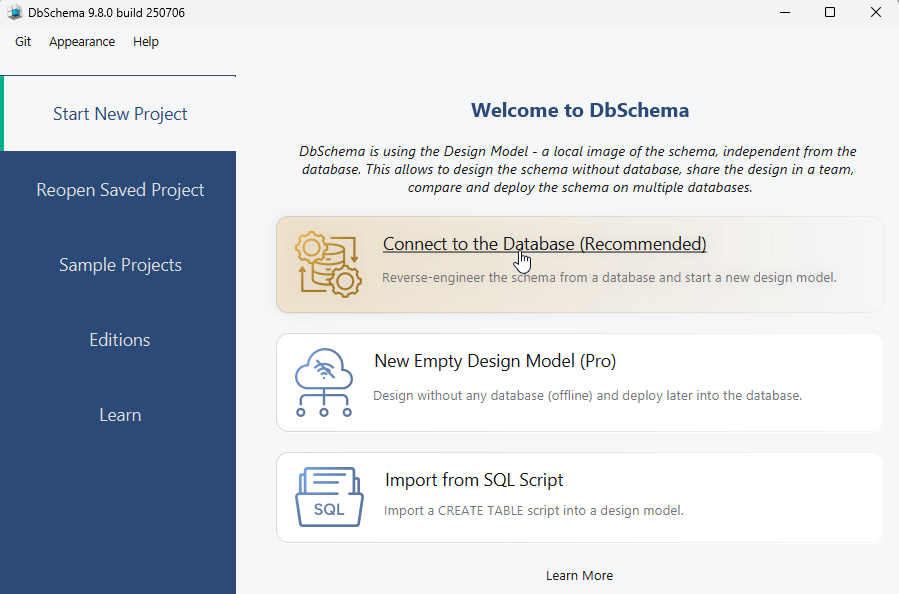
Open DbSchema, then click "Connect to Database" on the Main Screen and choose your database system.
DbSchema will automatically download the required JDBC driver.
Before starting the connection process in DbSchema, verify that the Oracle Database server is running and ready to accept incoming connections.
Your Guide to Oracle Connection Types
- Configure the Local Connection via SID in DbSchema
- Configure the Remote Connection via SID in DbSchema
- Connect to Oracle Cloud Autonomous Database
- Use Kerberos Authentication
- Docker Oracle Installation
I. Configure the Local Connection via SID in DbSchema
- Select 'Connect via SID from the JDBC URL
- To connect to Oracle from your computer, insert the database username (usually sys as sysdba) and password configured during the Oracle Database installation.
- Specify the SID (e.g., ORCLCDB) of the database you want to connect to. You can run the command SHOW PARAMETER INSTANCE_NAME in SQL*Plus, and the SID will appear as the value of the instance_name parameter in the list.
- Click 'Connect' and select the schema you want to reverse engineer.

II. Configure the Remote Connection via SID in DbSchema
- To allow remote connections, you need to check the Firewall Rules : Ensure that the firewall on the server permits traffic through port 1521 .
- Select the Remote computer or custom port
- Here, you can enter the IP address or the Hostname (Windows Computer Name) of your remote Oracle Server to connect from your local computer to another remote machine.
- Test the connection (Ping)
- Insert the database username (usually sys as sysdba) and password configured during the Oracle server installation.
- Specify the SID (e.g., ORCLCDB) of the database you want to connect to. You can run the command SHOW PARAMETER INSTANCE_NAME in SQL*Plus, and the SID will appear as the value of the instance_name parameter in the list.
- Click 'Connect' and select the schema you want to reverse engineer.

III. Connect to Oracle Cloud Autonomous Database
- In the Oracle Cloud Console create an autonomous database.
- Create administrator credentials; these will be used to establish the connection in DbSchema.
- You will need this JDBC URL pattern from DbSchema
jdbc:oracle:thin:@
+ the Connection String URL from
the Oracle Console - for example:
jdbc:oracle:thin:@(description= (retry_count=20)(retry_delay=3)(address=(protocol=tcps)(port=1522)(host=adb.eu-frankfurt-1.oraclecloud.com))(connect_data=(service_name=g158801ea2b709a_dbschema_medium.adb.oraclecloud.com))(security=(ssl_server_dn_match=yes))) - Click the 'Database Connection' tab: Download and unzip the wallet to a local folder, such as C:/Temp/OracleWallet. Set a Wallet Password: During the download process, you will be prompted to create a wallet password. For example, you can use 'dbschemasecret'.
- Open and edit in any text editor the
DbSchema.vmoptions
file, located in the DbSchema installation folder. Add the following parameters
to configure the connection by referencing the downloaded wallet files and the password you created during the wallet setup:
-Djavax.net.ssl.trustStore=C:/Temp/OracleWallet/truststore.jks -Djavax.net.ssl.trustStorePassword=dbschemasecret -Djavax.net.ssl.trustStoreType=JKS -Djavax.net.ssl.keyStore=C:/Temp/OracleWallet/keystore.jks -Djavax.net.ssl.keyStoreType=JKS -Djavax.net.ssl.keyStorePassword=dbschemasecret -Doracle.net.authentication_services=(TCPS) - Important! Start or restart DbSchema, and connect to the Oracle database.
- In DbSchema application, choose 'Edit Manually' from the JDBC URL
- Enter all the required details as explained in the previous steps.
- Click 'Connect' and select the schema you want to reverse engineer.


Connect to Oracle using Kerberos Authentication
This require setting in the Connection Dialog Settings pane the Properties field to:
oracle.net.authentication_services=( KERBEROS5 );oracle.net.kerberos5_mutual_authentication=true

Please also edit the file DbSchema.vmoptions ( look in the same folder as DbSchema executable or in DbSchema.app/Contents/vmoptions.txt ) and add this oracle.net.kerberos5_cc_name=path_to_credential
Download and Use Oracle Database with Docker
Follow these steps to download and run Oracle Database using Docker:
- Log in to the Oracle Container Registry:
- Pull the latest Oracle Database Enterprise Edition image:
- Run the Oracle Database container:
docker login container-registry.oracle.com
docker pull container-registry.oracle.com/database/enterprise:latest
docker run -d --name oracle-db -p 1521:1521 -p 5500:5500
-e ORACLE_SID=ORCLCDB
-e ORACLE_PDB=ORCLPDB1
-e ORACLE_PWD=YourPassword123
container-registry.oracle.com/database/enterprise:latest
Note: Replace YourPassword123 with a secure password of your choice. The ORACLE_SID specifies the database SID, and ORACLE_PDB
specifies the pluggable database name.
Note: The database username is usually SYS as SYSDBA, and the password is the one you set in ORACLE_PWD.