Design and Manage IBM DB2 Databases with DbSchema
Build a clearer workflow for IBM DB2: reverse engineer existing schemas into interactive ER diagrams, model changes visually, and generate reviewed SQL scripts before deployment.
DbSchema is built for enterprise schema governance, change review, and cross-environment consistency. Keep an offline model in Git, collaborate across teams, and publish documentation that developers, analysts, and stakeholders can navigate in minutes.

Download DbSchema See IBM DB2 Features Download IBM DB2 JDBC Driver
What happens after you download?
Get to your first IBM DB2 schema diagram in minutes. No account, no credit card.
Install in minutes
Download the installer for Windows, macOS, or Linux and launch DbSchema. No signup required.
Connect to IBM DB2 or open a sample
Reverse engineer an existing IBM DB2 database or open a sample model to explore tables, relationships, and indexes.
Design, document, and deploy
Edit schema visually, generate documentation, and prepare reviewed migration scripts for safer releases.
Enterprise Schema Visualization for IBM DB2
DB2 installations in enterprise environments typically span multiple schemas, contain large numbers of stored procedures and triggers, and use tablespaces, buffer pools, and partitioning strategies that reflect years of production tuning. DbSchema imports DB2 catalog metadata from the SYSCAT views and renders the result as an interactive ER diagram — making complex object graphs navigable without requiring direct knowledge of DB2 system catalog tables.
Download DbSchema Free See IBM DB2 Features
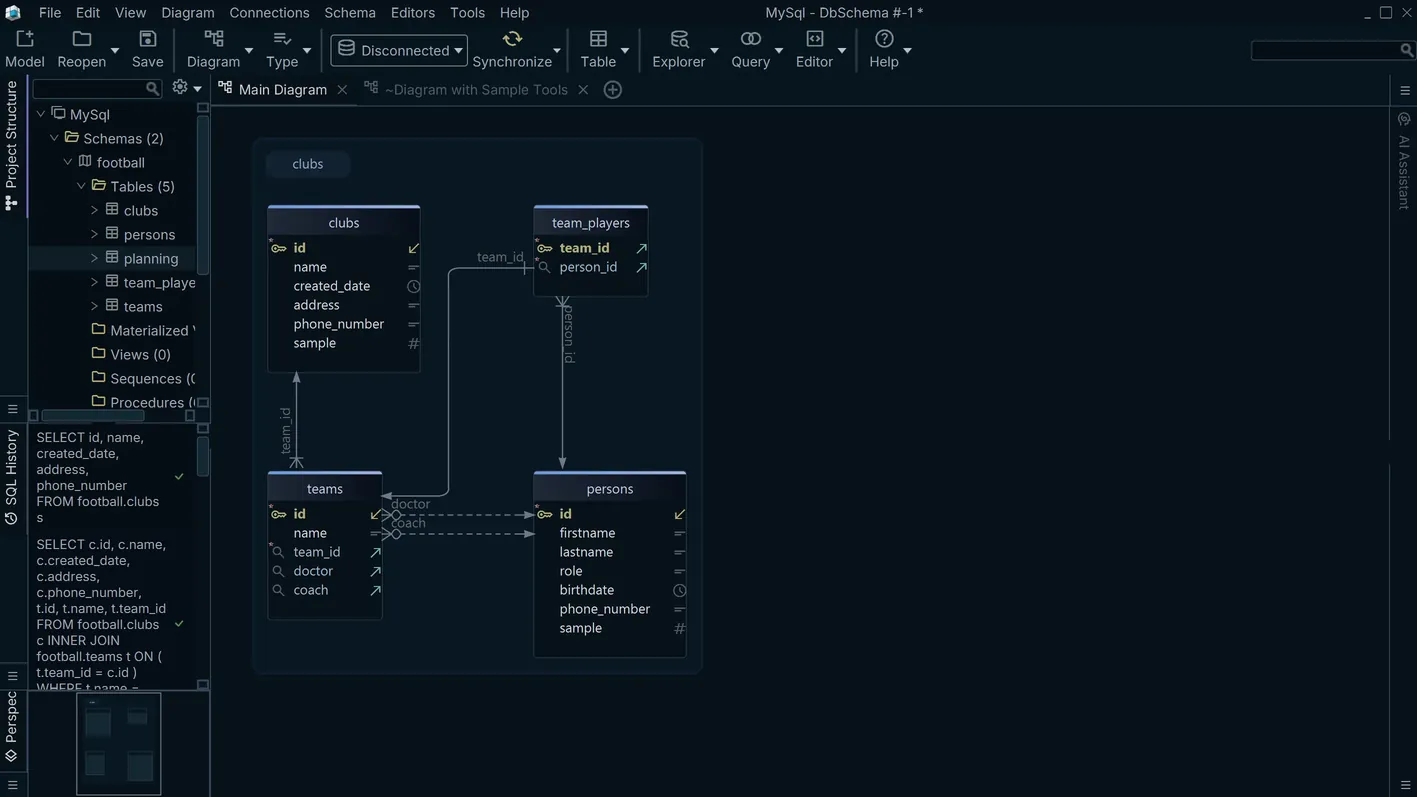
ER Diagrams Across DB2 Schemas
DbSchema maps tables, views, and foreign key relationships from multiple DB2 schemas onto a single canvas. Add or remove schema objects from the diagram without touching the live database, and use the visual layout to identify undocumented dependencies or orphaned tables before a migration.
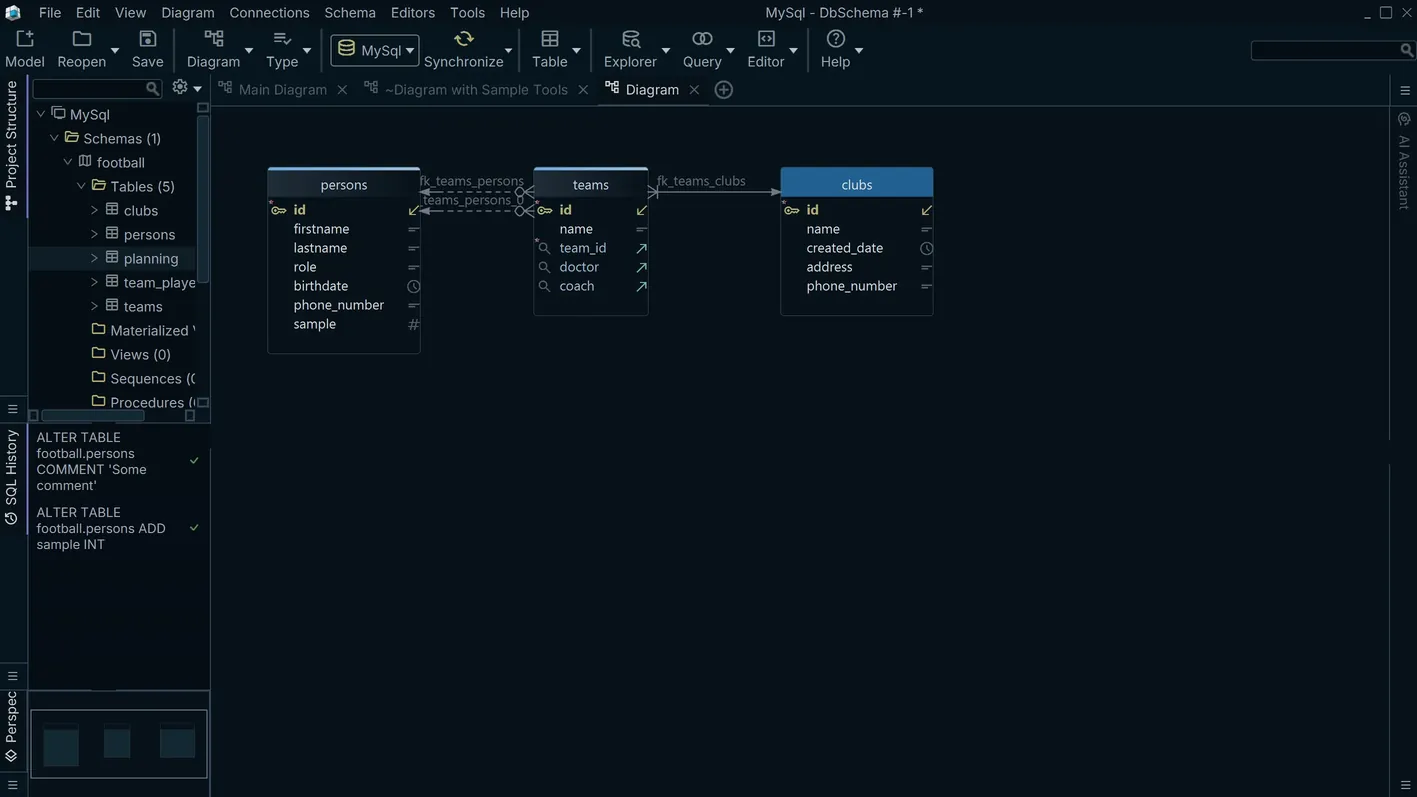
Schema Comparison and Migration Scripts
DbSchema compares two DB2 environments — test versus production, or an updated schema model versus the live catalog — and generates a DDL migration script covering every structural difference. The side-by-side diff view lets you audit each change before deployment, reducing the risk of unintended alterations in a production DB2 instance.
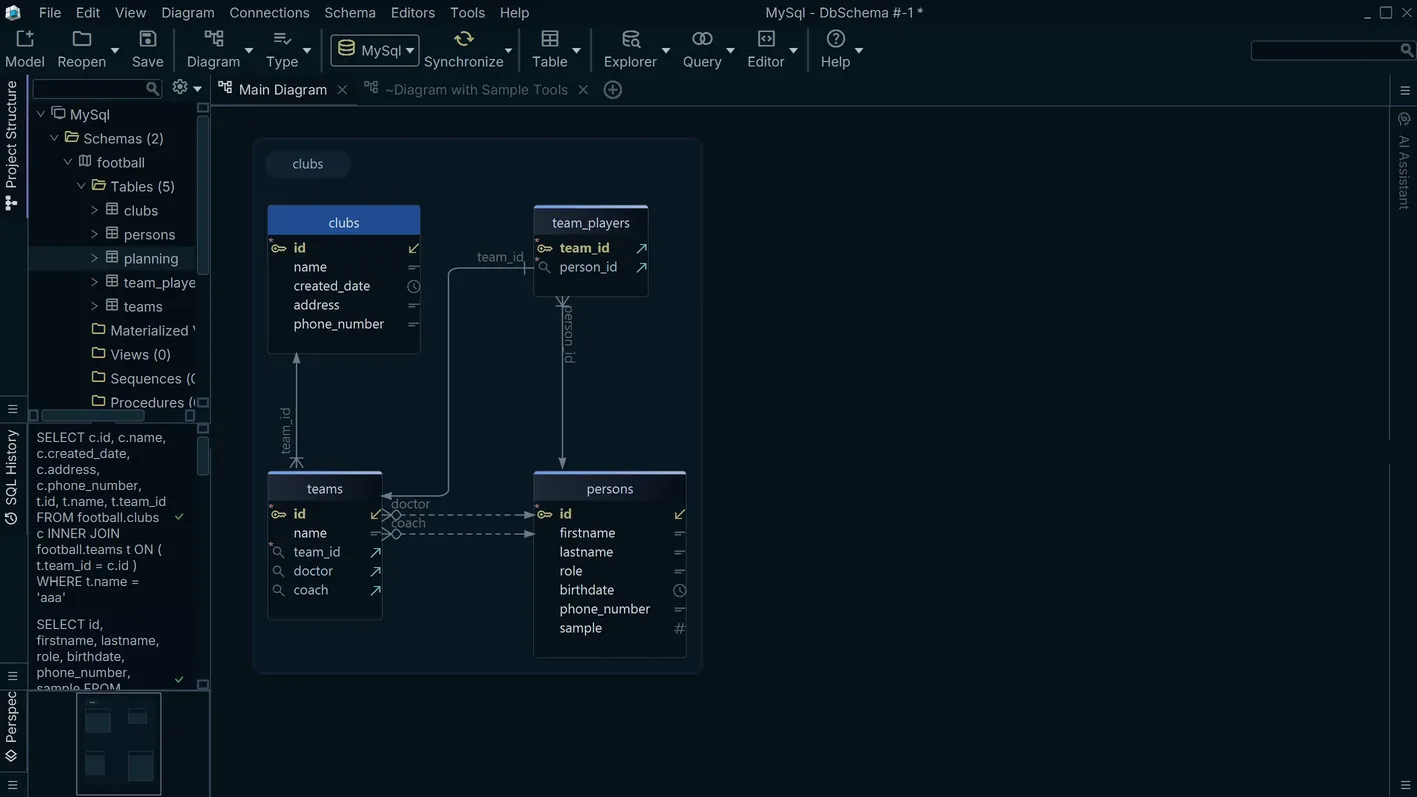
DB2-Aware SQL Editor with Autocomplete
The SQL editor provides autocomplete for DB2 SQL syntax, catalog object names, and built-in functions. Execute queries against a live DB2 connection and review result sets directly in the editor pane, without switching between tools or maintaining a separate query management workflow.
Connecting DbSchema to IBM DB2
DB2 listens on port 50000 by default. The JDBC URL format is
jdbc:db2://host:50000/DBNAME — the database name is case-sensitive and must match the
name shown in the DB2 catalog. Download the IBM Data Server Driver for JDBC and SQLJ from IBM's
website, then register the JAR in DbSchema's driver manager UI. Ensure the DB2 instance is running
and that the TCP/IP protocol is enabled in the database manager configuration
(db2set DB2COMM=TCPIP). The connecting user must have CONNECT privilege on the target
database.
Why DbSchema for DB2 Projects
- Visualize large, multi-schema DB2 databases without querying SYSCAT tables manually.
- Generate DDL migration scripts by diffing any two DB2 environments side by side.
- Work on schema designs offline and apply them to DB2 after the change is reviewed and approved.
- Produce schema documentation for audit, compliance, and onboarding without direct DB access.
- Identify cross-schema dependencies visually before executing a migration or archival job.