Design and Manage PostgreSQL Databases Visually with DbSchema
DbSchema lets you design, manage, and document PostgreSQL databases. Create ER diagrams, define tables and columns, and generate SQL scripts - with or without a live database connection.
Use Git to share the design, compare it with the PostgreSQL database, and deploy changes. DbSchema also includes a data editor, query builder, and HTML5 documentation - everything you need in one tool.

Download DbSchema Download PostgreSQL JDBC Driver
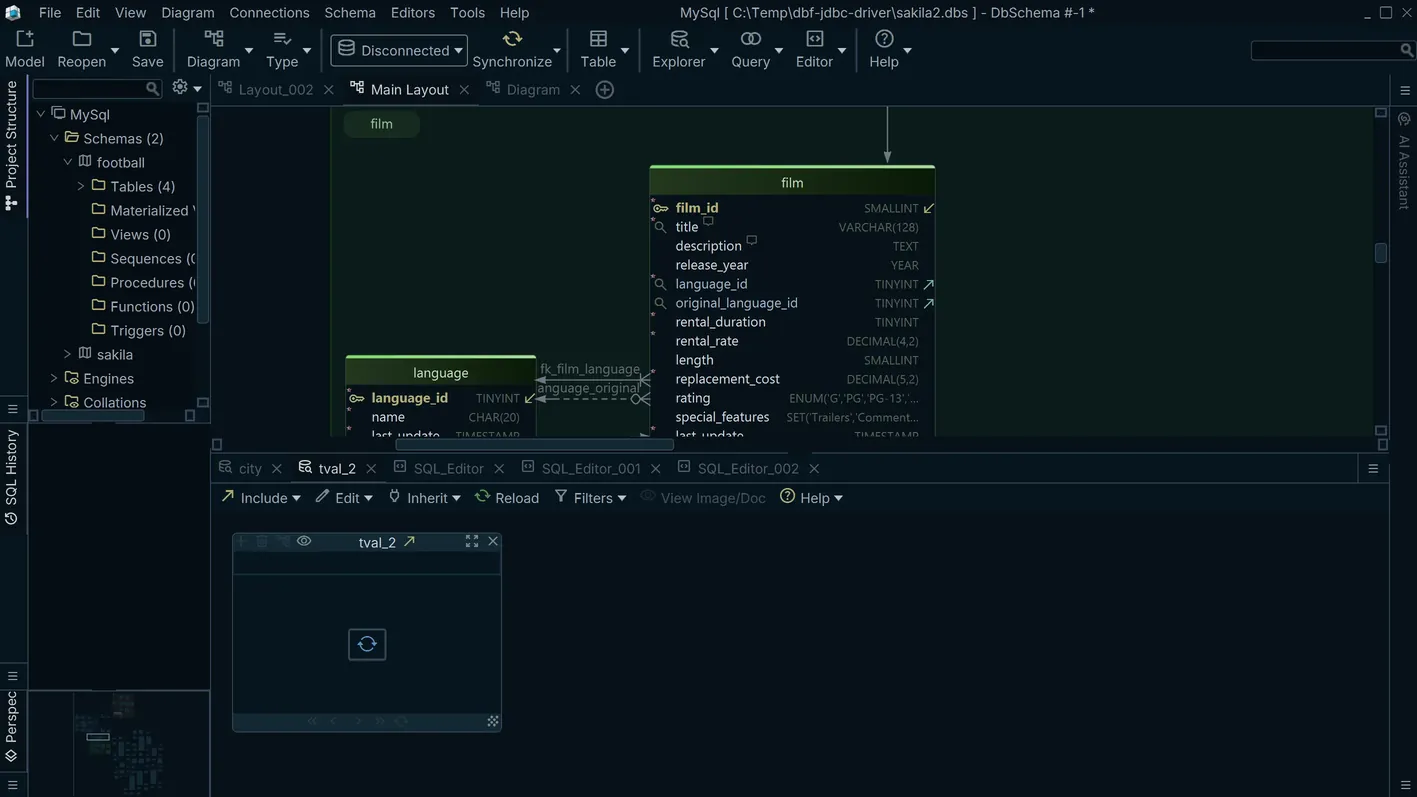
Visualizing PostgreSQL's Rich Type System and Complex Relationships
PostgreSQL distinguishes itself through an advanced type system — JSONB columns, array fields, custom composite types, range types, and domain constraints all appear in production schemas. DbSchema renders these types natively in the ER diagram, preserving the full fidelity of your PostgreSQL schema rather than flattening it to plain tables and columns. Complex foreign key graphs, partial indexes, and materialized views are all represented in the visual model.
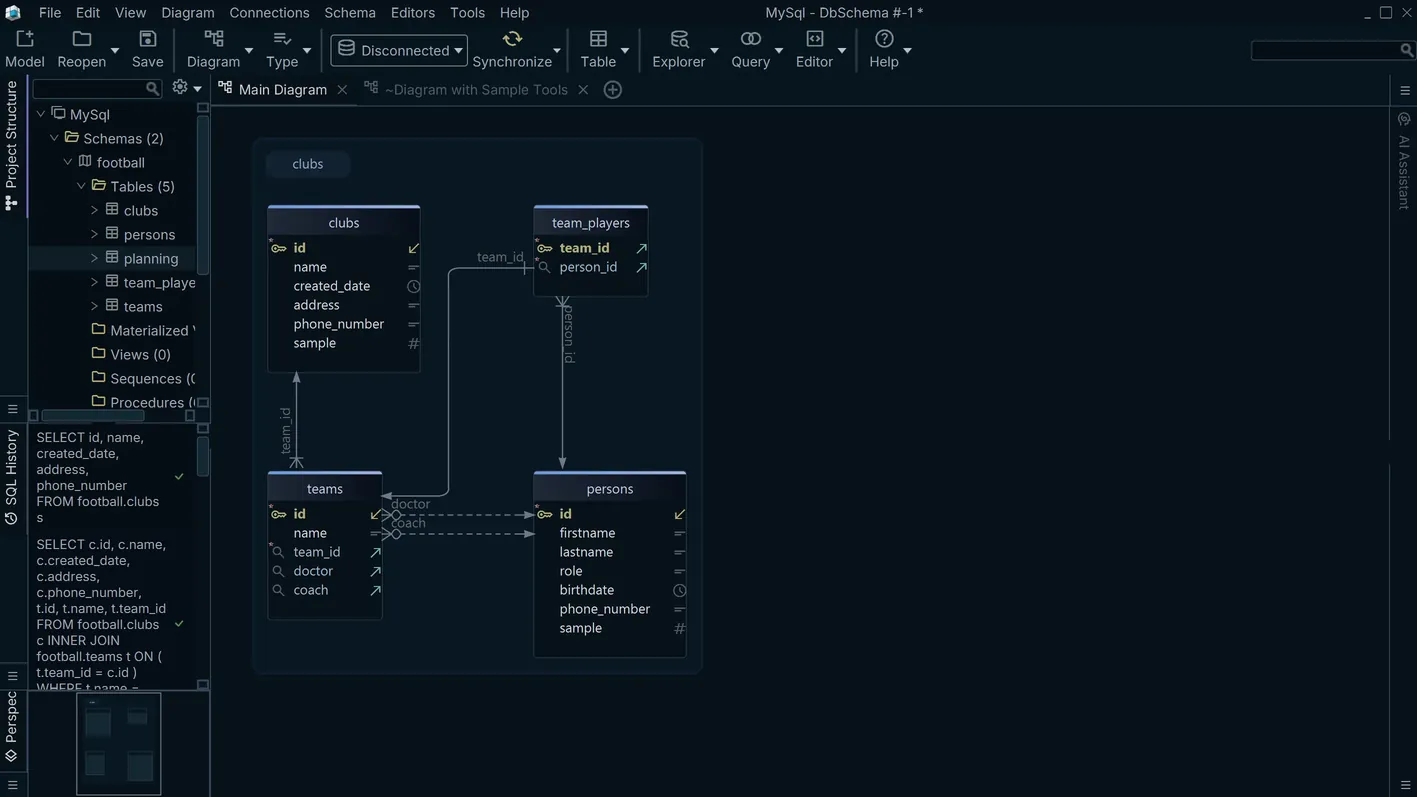
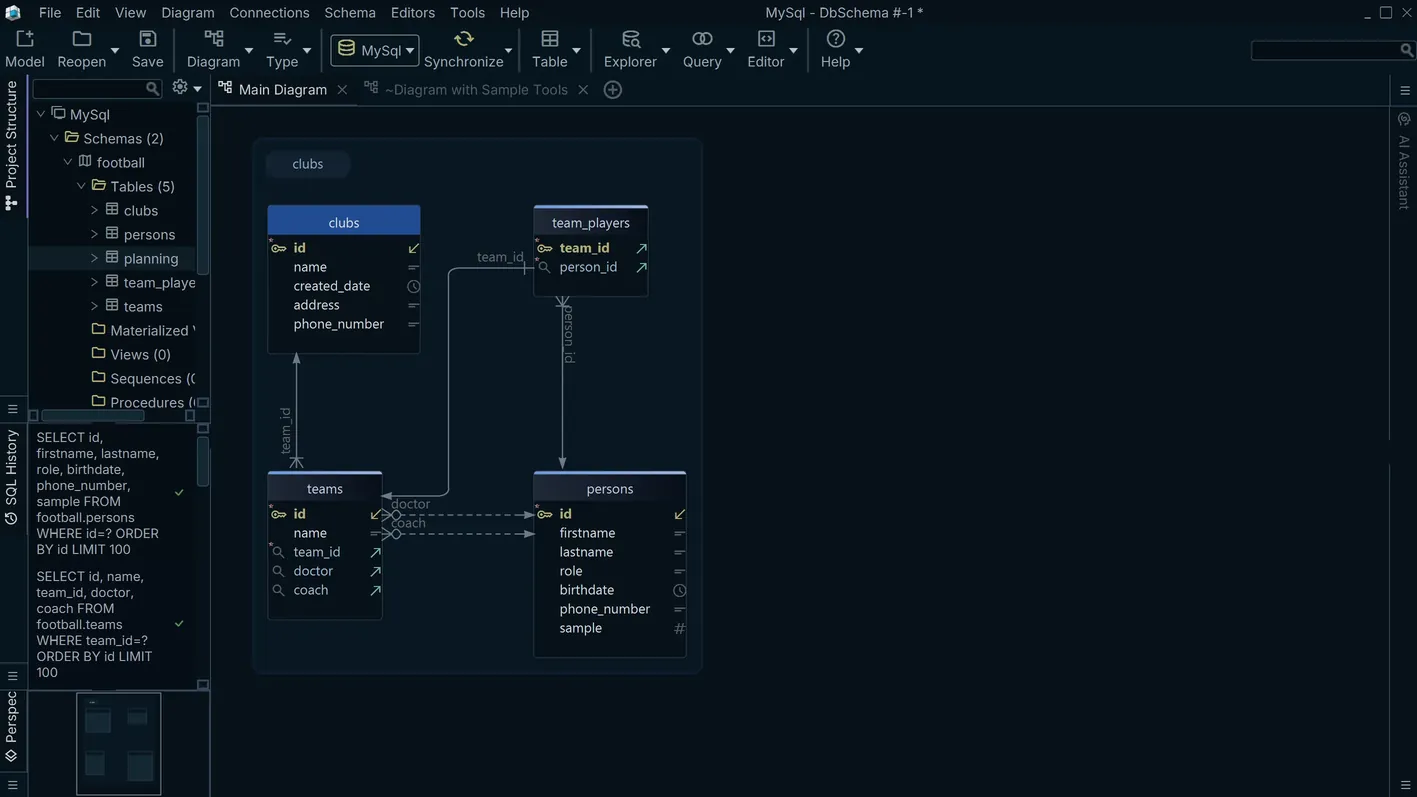
Interactive ER Diagram with Full Constraint Mapping
Load a PostgreSQL database and DbSchema maps every table, view, materialized view, index, and foreign key onto a navigable canvas. Edit column definitions, adjust constraints, and draw new relationships directly on the diagram — DbSchema generates the corresponding DDL automatically.
Visual Query Builder
The query builder lets you join PostgreSQL tables, apply filters, and select columns by clicking rather than typing. It is particularly useful for analysts who need data quickly without constructing multi-table joins by hand. Developers who prefer SQL can switch to the editor at any point — both modes produce and execute the same query.
Schema Version Control with Git
DbSchema saves the schema model as a project file that can be committed to any Git repository. Each structural change — a new column, a dropped index, a modified constraint — produces a reviewable diff. Teams working across feature branches can coordinate schema changes the same way they manage application code, with full history and rollback capability.
Connecting DbSchema to PostgreSQL
PostgreSQL listens on port 5432 by default. The JDBC URL format is
jdbc:postgresql://host:5432/dbname. DbSchema downloads the official PostgreSQL JDBC
driver automatically on first connect. For remote access, set listen_addresses = '*'
in postgresql.conf and add a host record to pg_hba.conf
that permits connections from the client IP. SSL encryption is supported natively — append
?sslmode=require to the connection URL to enforce it.
Why DbSchema for PostgreSQL Teams
- Visualize JSONB fields, array columns, and custom types alongside standard relational structure.
- Track schema evolution in Git alongside application code for a unified code-review workflow.
- Build ad-hoc queries visually — useful for data exploration without leaving the schema tool.
- Compare two PostgreSQL databases and generate a precise, reviewed migration script.
- Work offline on the schema model and apply changes when a live connection becomes available.