How to Enable Remote Connections in SQL Server
For developers and administrators whose SQL Server answers on the server itself but not from any other machine; every step below is on Windows.
On this page
SQL Server answers every query typed on the machine it runs on, and answers nothing at all from the laptop across the room. Three things have to be true before a remote client reaches SQL Server 2022 on Windows: the TCP/IP protocol is enabled for the instance, the instance listens on a port you know, and the Windows Firewall lets that port through.
Enable the TCP/IP protocol for the instance
TCP/IP is the protocol a client on another machine uses to reach SQL Server, and it is one of several network protocols SQL Server Setup installs. Microsoft's guide to enabling a server network protocol is explicit that all of them are installed but might or might not be enabled, so a fresh instance can be perfectly healthy and still unreachable over the network. Turning the protocol on is done in SQL Server Configuration Manager:
- In the console pane, expand
SQL Server Network Configuration. - In the same pane, select
Protocols for <instance name>. - In the details pane, right-click
TCP/IPand selectEnable.
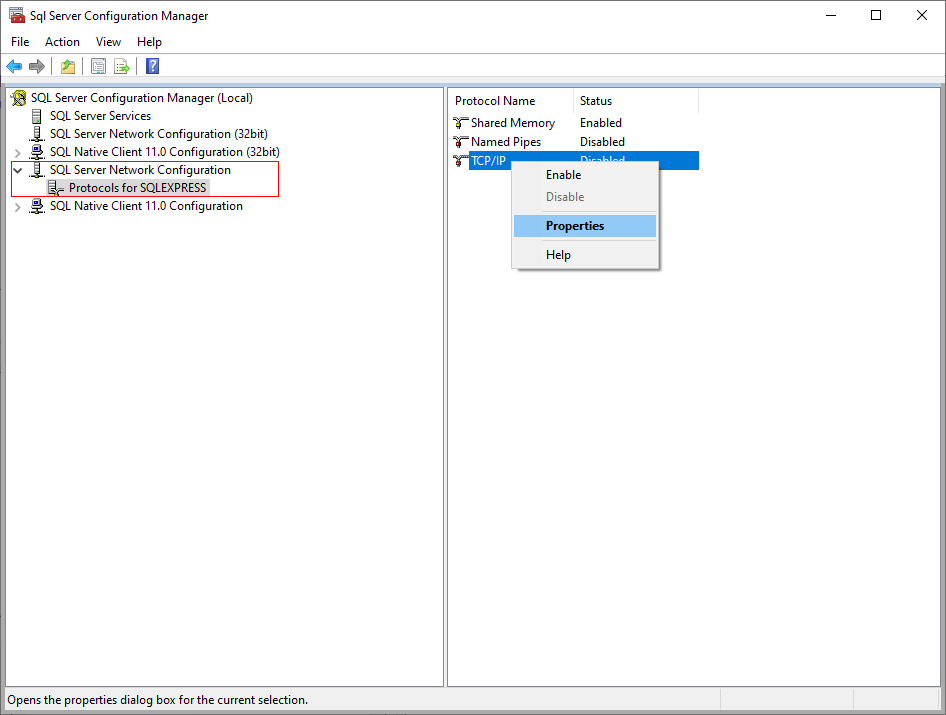
The Database Engine has to be stopped and restarted before the change takes effect, which is the last step of the next section. For a named instance, including SQL Server Express, Microsoft also says to restart the SQL Server Browser service.
Set the port SQL Server listens on
An enabled default instance listens on TCP port 1433. A named instance is configured for dynamic ports instead, which means it picks an available port each time the service starts, and Microsoft's page on listening on a specific TCP port recommends giving it a fixed port when a firewall sits in front of it, so that the right port can be opened. The port is set on the same TCP/IP entry:
- Double-click
TCP/IPto open theTCP/IP Propertiesdialog box, and go to theIP Addressestab. The addresses appear asIP1,IP2, up toIPAll. - If the
TCP Dynamic Portsbox contains0, the Database Engine is listening on dynamic ports. Delete the0. - In the
TCP Portbox, type the port number, then selectOK. - In the console pane, select
SQL Server Services, right-clickSQL Server (<instance name>)and selectRestart.
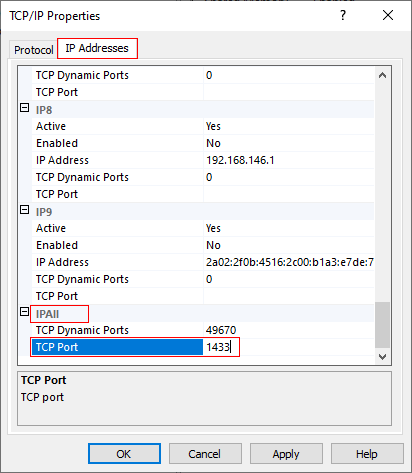
Which entry you edit depends on the Listen All setting on the Protocol tab. When it is set to Yes, only the TCP Port and TCP Dynamic Port values under IPAll are used and the individual IP n sections are ignored. When it is set to No, the IPAll values are ignored and the individual sections are used instead. Each IP n section carries its own Enabled setting, which starts out disabled.
Open the port in the Windows Firewall

The firewall on the database server discards the incoming packets unless a rule allows them. Microsoft's guide to configuring the Windows Firewall for SQL Server gives two ways to write that rule. Run from a command prompt with administrator rights, netsh opens TCP port 1433 to the local subnet on the domain profile:
netsh advfirewall firewall add rule name = SQLPort dir = in protocol = tcp action = allow localport = 1433 remoteip = localsubnet profile = DOMAIN
PowerShell does the same through the NetSecurity module, and the second line covers the SQL Server Browser service on UDP 1434, which a client needs when it connects to a named instance by name rather than by port:
New-NetFirewallRule -DisplayName "SQLServer default instance" -Direction Inbound -LocalPort 1433 -Protocol TCP -Action Allow
New-NetFirewallRule -DisplayName "SQLServer Browser service" -Direction Inbound -LocalPort 1434 -Protocol UDP -Action Allow
Keep the rule as narrow as the deployment allows. Microsoft's guidance on firewall scope treats "My network (subnet) only" as more secure than opening the port to any computer, and a custom list of fixed server addresses as tighter still.
Connect from the other machine
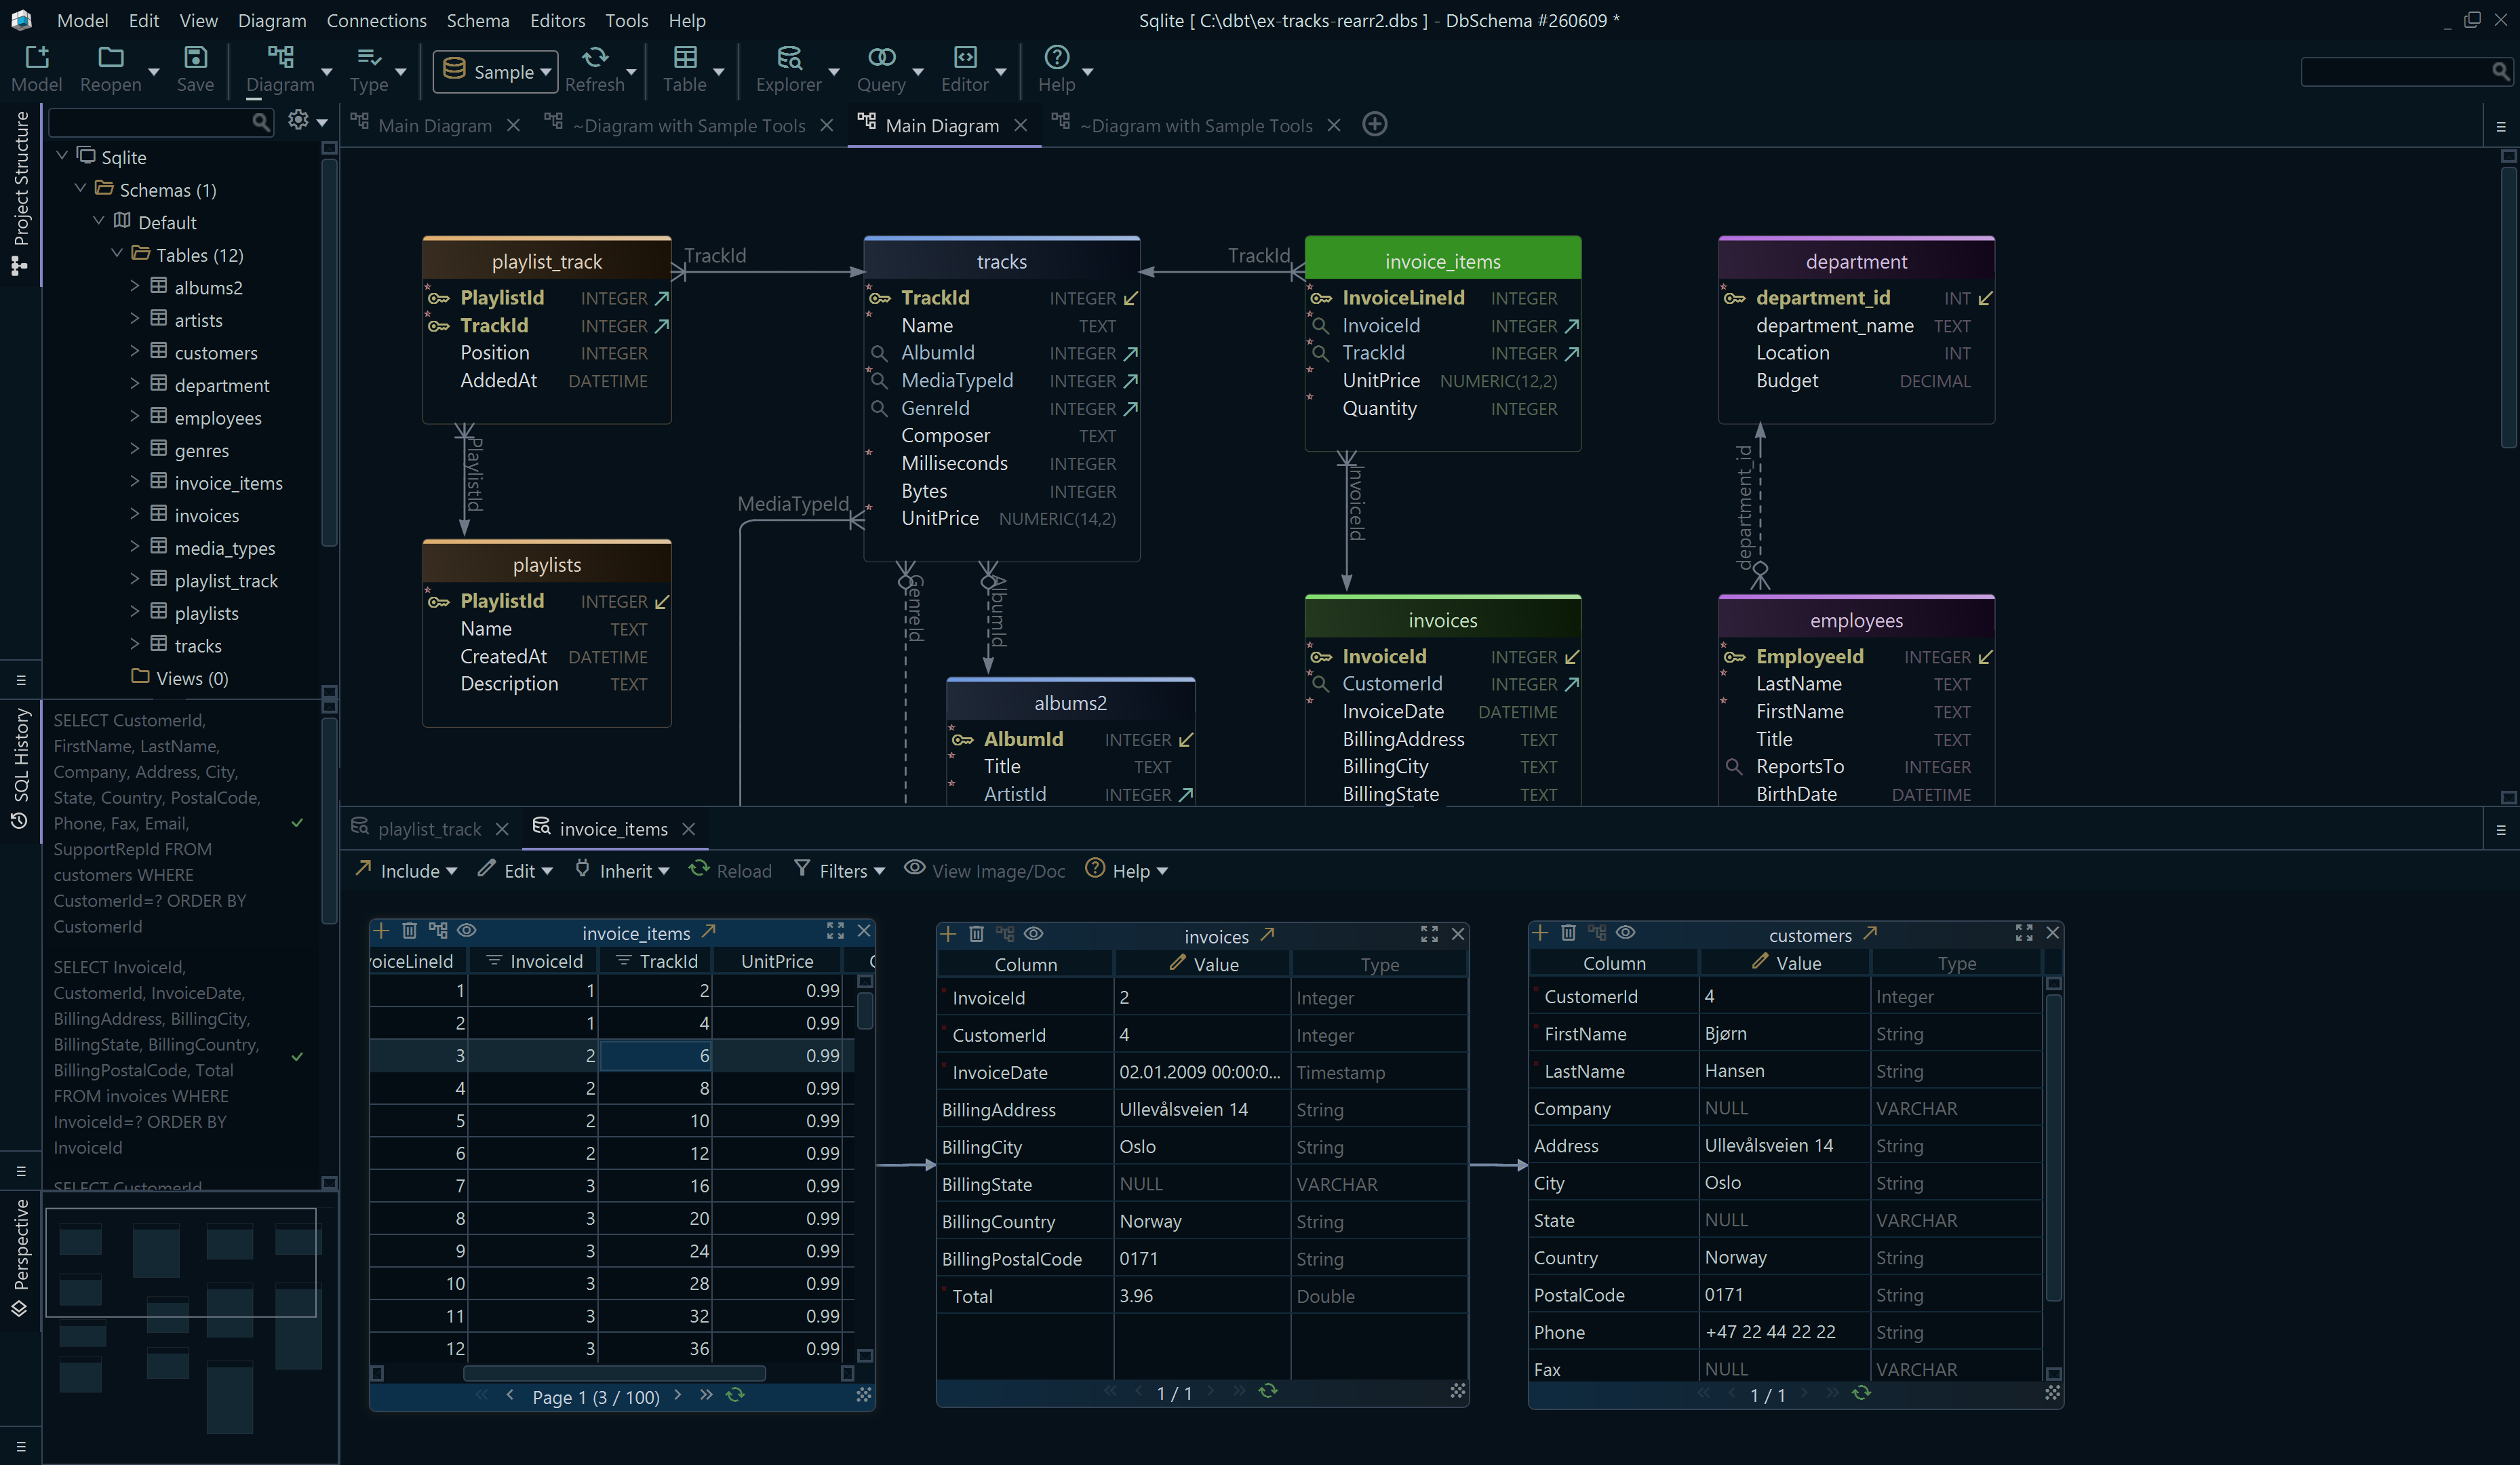
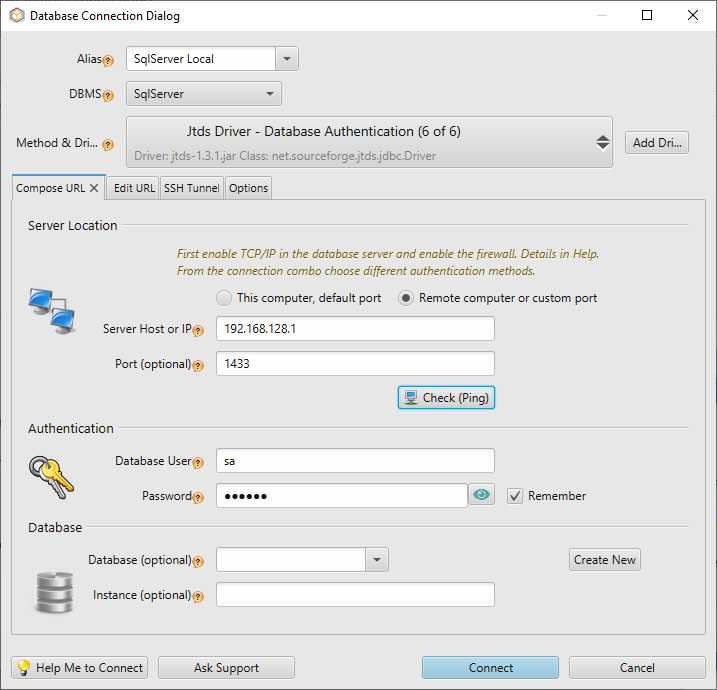
With the protocol enabled, the port fixed and the firewall open, any client that speaks TDS can reach the instance. In DbSchema, choose Connect to Database, pick SQL Server from the list, and fill in the Connection Dialog:
- Under
Where is the database running?, chooseRemote computer or custom port, then enter theServer Hostand thePortyou set above. - Enter the
Database UserandPasswordof a SQL Server login, and choose theDatabaseto open. - Click
Test Connectionto check that the server answers before you connect.
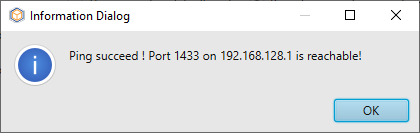
If the test fails, the port is the first thing to check: telnet dbserver.mycompany.com 1433 from the remote machine says whether anything is listening there at all, and netstat -n -a on the server lists the TCP and UDP ports the computer is listening on.
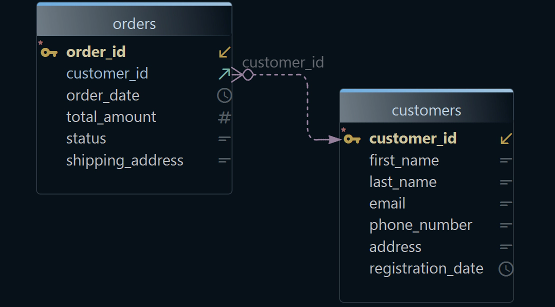
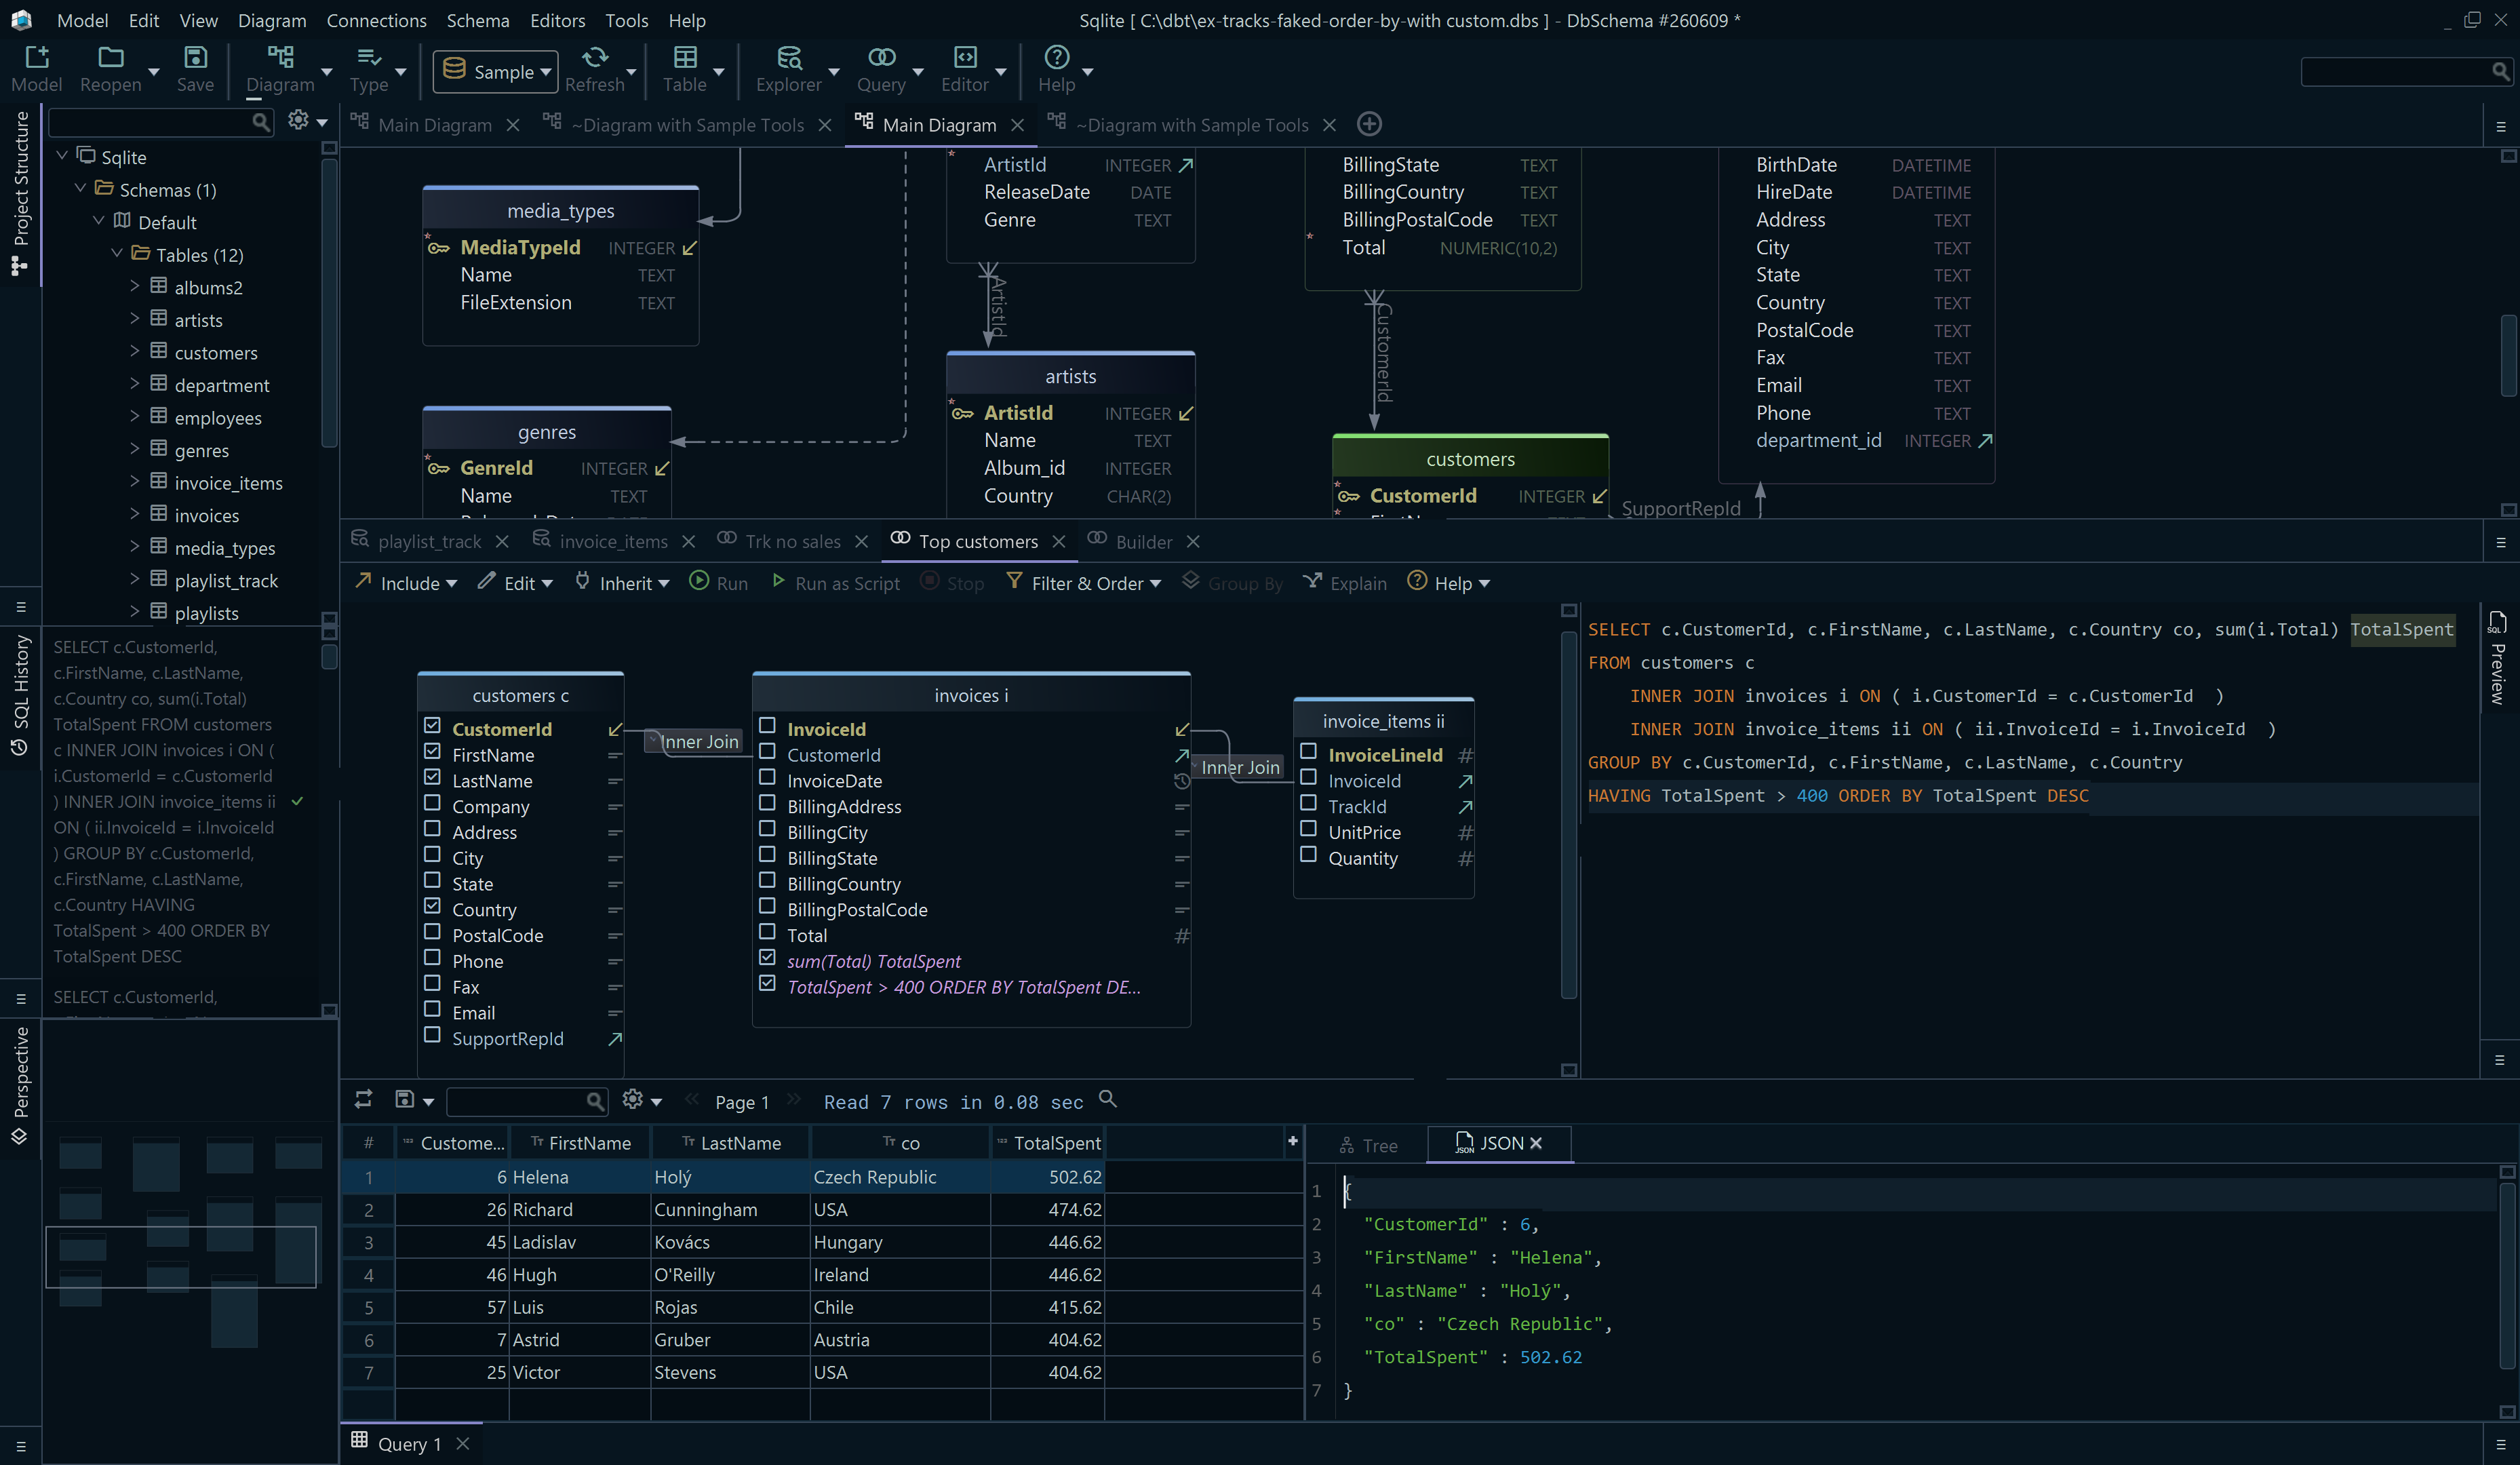
Click Connect and DbSchema reverse-engineers the schema into diagrams you can read straight away. Connecting and browsing the diagrams are in the free Community Edition; download it at https://dbschema.com/download.html and point it at the host and port you just opened.